Create And Manage Linux Containers From Proxmox VE Web Dashboard
In this tutorial, we will discuss a brief overview about Linux containers and its use cases. Then we will move on to see how to list available container templates from Proxmox web dashboard, download a container template and finally create Proxmox containers using the downloaded container template from Proxmox dashboard.
If you haven’t installed Proxmox VE yet, refer the following guides.
What Is A Linux Container?
Linux Container (shortly LXC) is an OS-level virtualization method for running multiple isolated applications sharing an underlying Linux kernel. To put this in other words, Containers will use the same kernel of host system that they run on.
A container consists of one or more processes (generally running with reduced privileges) having shared visibility into kernel objects and a common share of host resources.
Shared visibility into kernel objects is governed by namespaces, which prevent processes in one container from interacting with kernel objects, such as files or processes, in an other container.
Resource allocation is governed by cgroups (control groups), provided by the kernel to limit and prioritize resource usage. An LXC container is a set of processes sharing the same collection of namespaces and cgroups.
Containers are very useful to develop, deploy, and test modern distributed apps and microservices that can operate in isolated execution environments on same host systems.
Containers are in high demand because they are lightweight alternatives to fully virtualized machines (VMs). The operating and running costs of containers are very low when compared to VMs.
Create Proxmox Containers From Proxmox Web Dashboard
Proxmox uses Linux Containers (LXC) as its underlying container technology.
We can create and containers from Proxmox VE graphical web user interface (GUI) or from commandline using Proxmox Container Toolkit (pct).
In this tutorial, we will see how to create and manage Proxmox containers from Proxmox web dashboard.
Step 1 – Login To Proxmox Web User Interface
Open the web browser and navigate to https://proxmox-IP-address:8006/ URL. You will be pleased with the Proxmox login page. Enter the username (root) and its password.
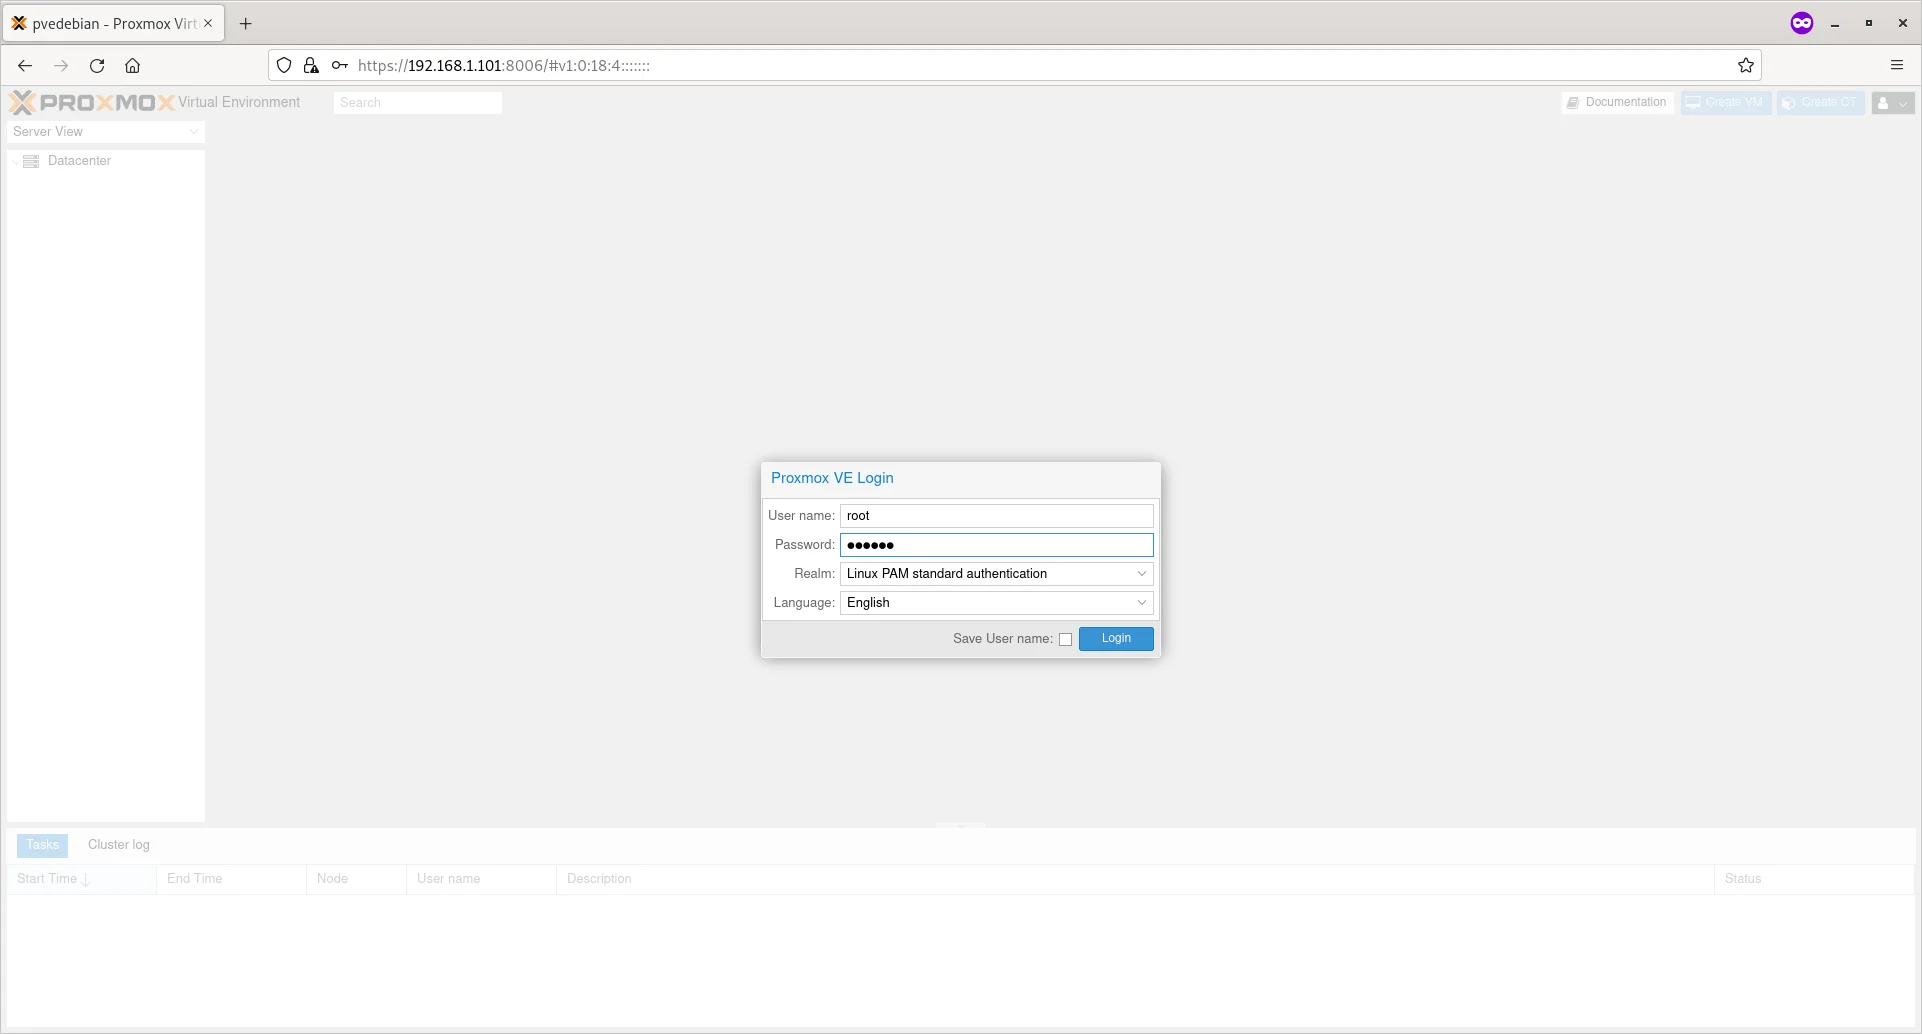 Login To Proxmox Web Dashboard
Step 2 – Download Container Images
Container images (also known as templates, or appliances) is a tar archive that is bundled with everything to run a container.
Proxmox provides various templates for popular Linux distributions. As of writing this guide, you can download the Container templates for the following Linux distributions from Proxmox VE official repositories.
- Alpine Linux
- Arch Linux
- CentOS / CentOS Stream / AlmaLinux / Rocky Linux
- Debian
- Devuan
- Fedora
- Gentoo
- openSUSE
- Ubuntu
You can also download various ready-made appliances from Turnkey Linux website.
Turnkey Linux is an open source project that developing a free virtual appliance library that features the very best server-oriented open source software. Each virtual appliance is optimized for ease of use and can be deployed in just a few minutes on bare metal, a virtual machine and in the cloud.
For the purpose of this guide, i am going to use Debian 11 standard template.
Click on the small arrow button besides your Proxmox host name to expand it. And click on the storage named ‘local‘. You will see the following screen.
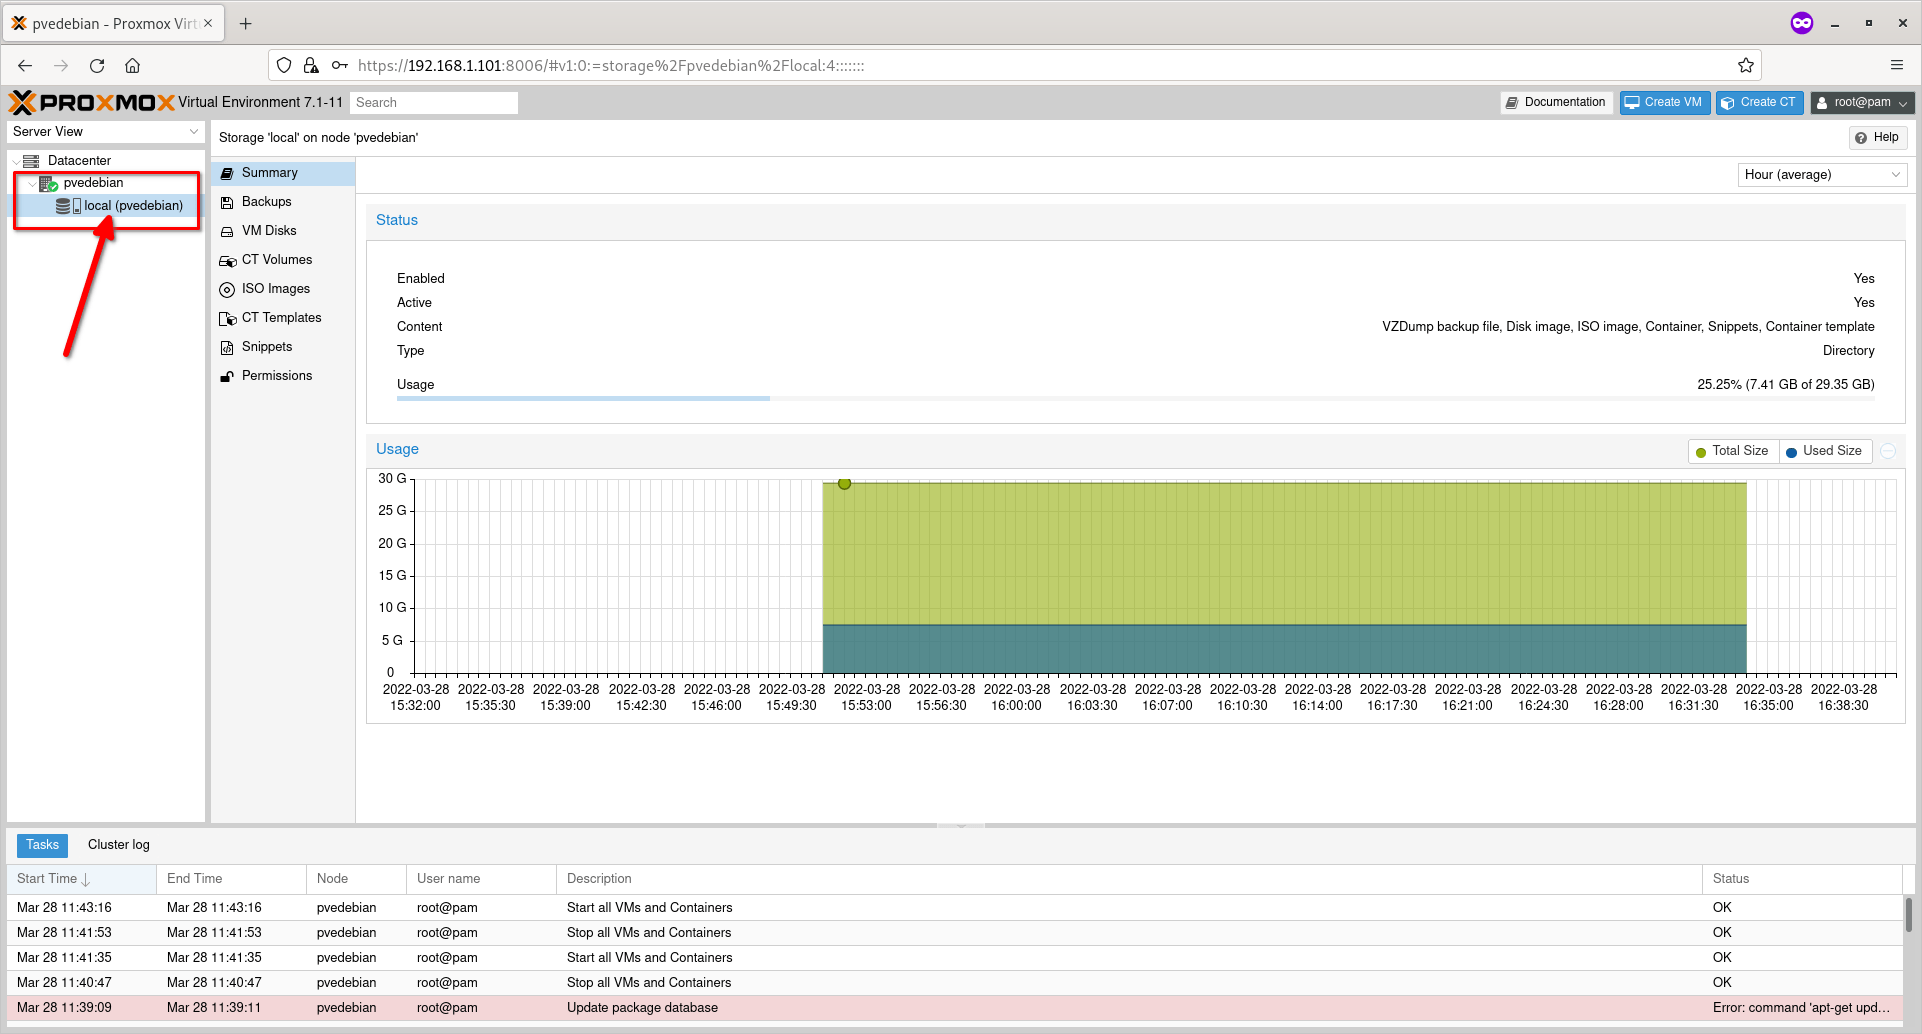 Click On Storage ‘local’ On Proxmox System
Click on ‘CT Templates’ option and then click ‘templates’ button.
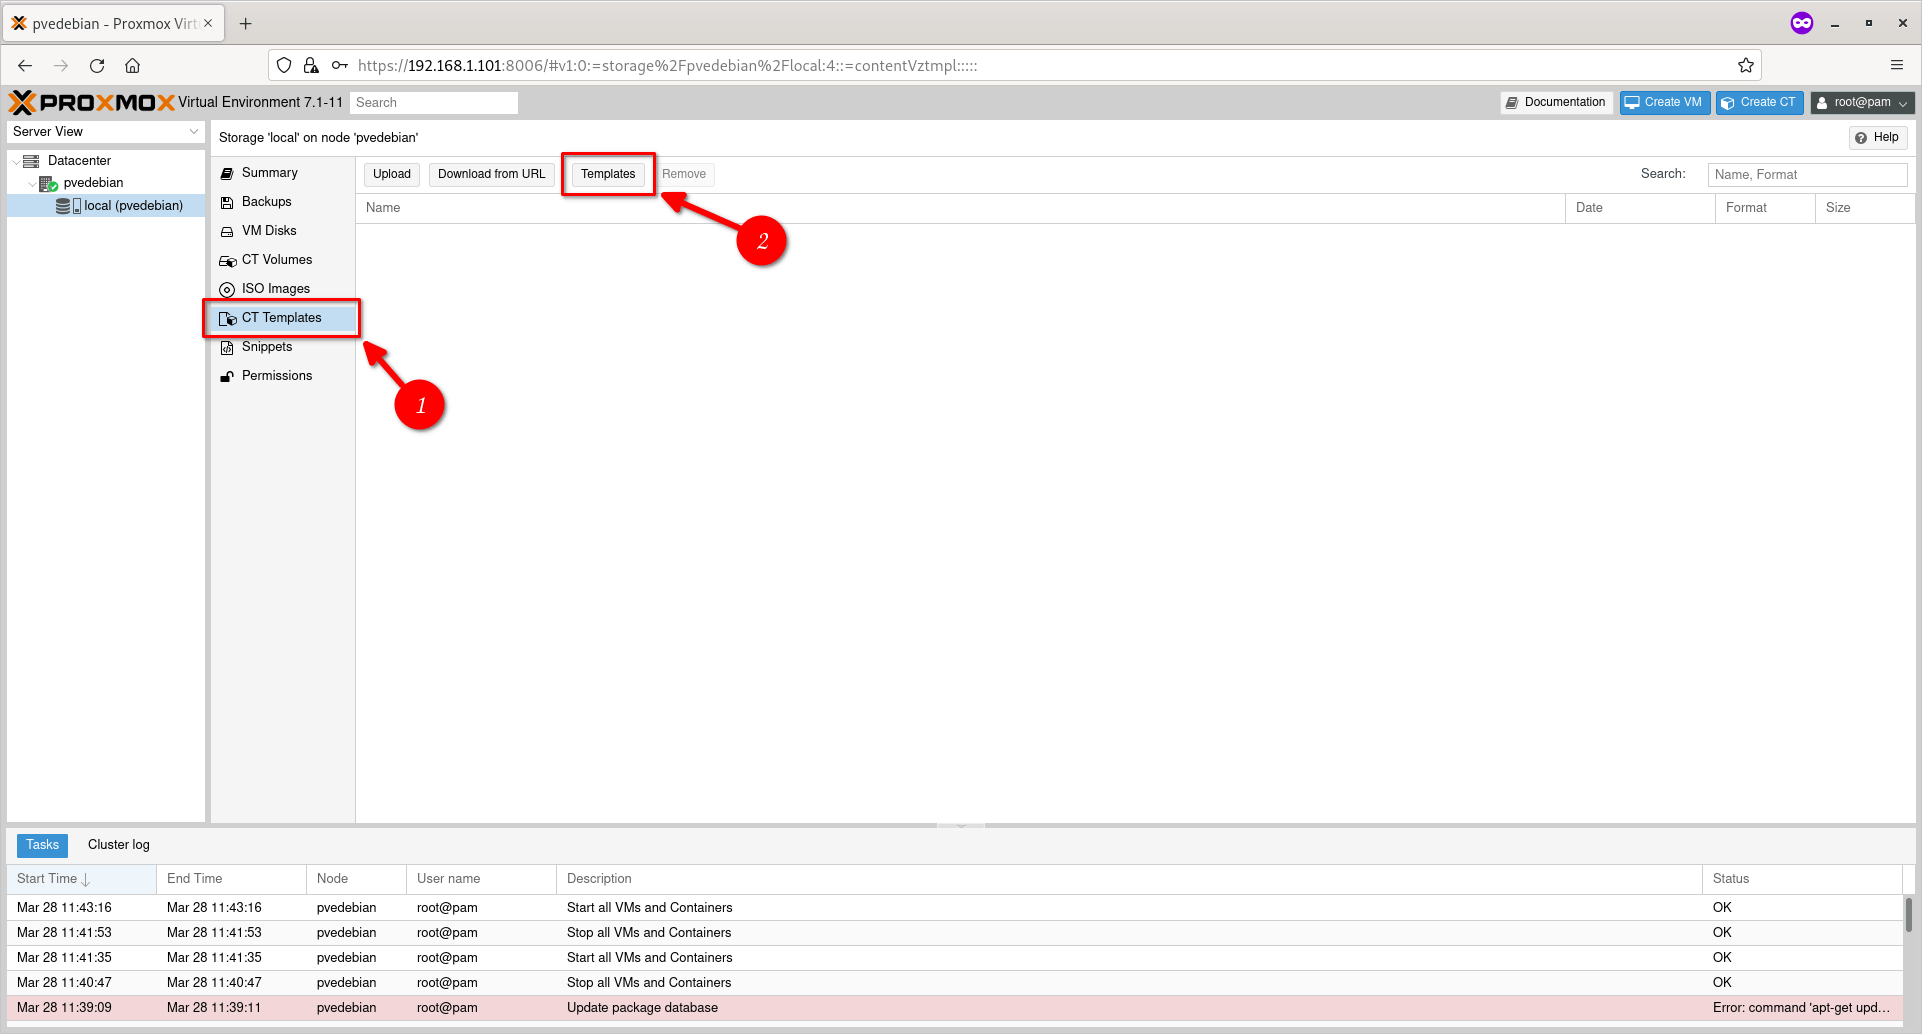 Click On CT Templates Option
You can also click ‘Upload’ button to upload an already downloaded template or choose ‘Download from URL’ button to download the template from a specific URL. I don’t have any templates on my local disk, so I chose ‘Templates’ button.
Choose the Container template of your choice and hit Download button.
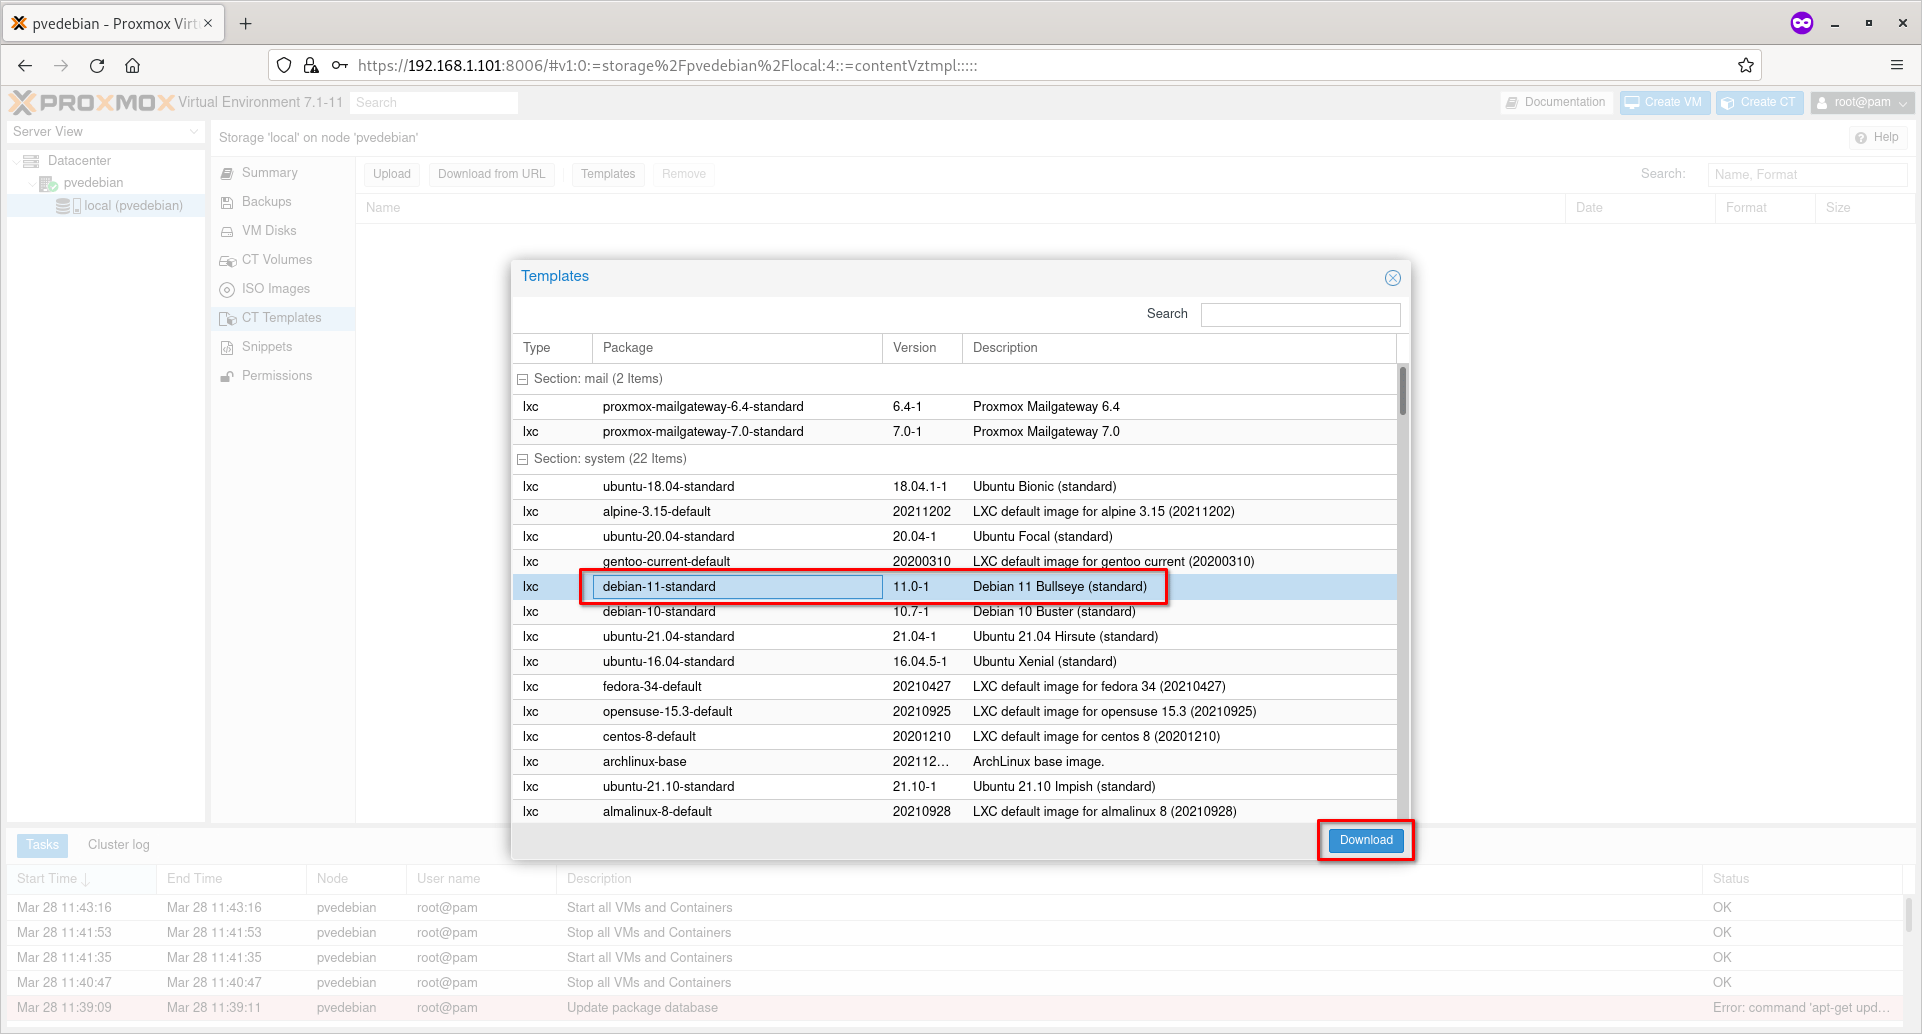 Download Debian Container Template
Now the selected the template will be downloaded and saved on /var/lib/vz/template/cache/ directory in your Proxmox host.
Once the template is downloaded, click the close button.
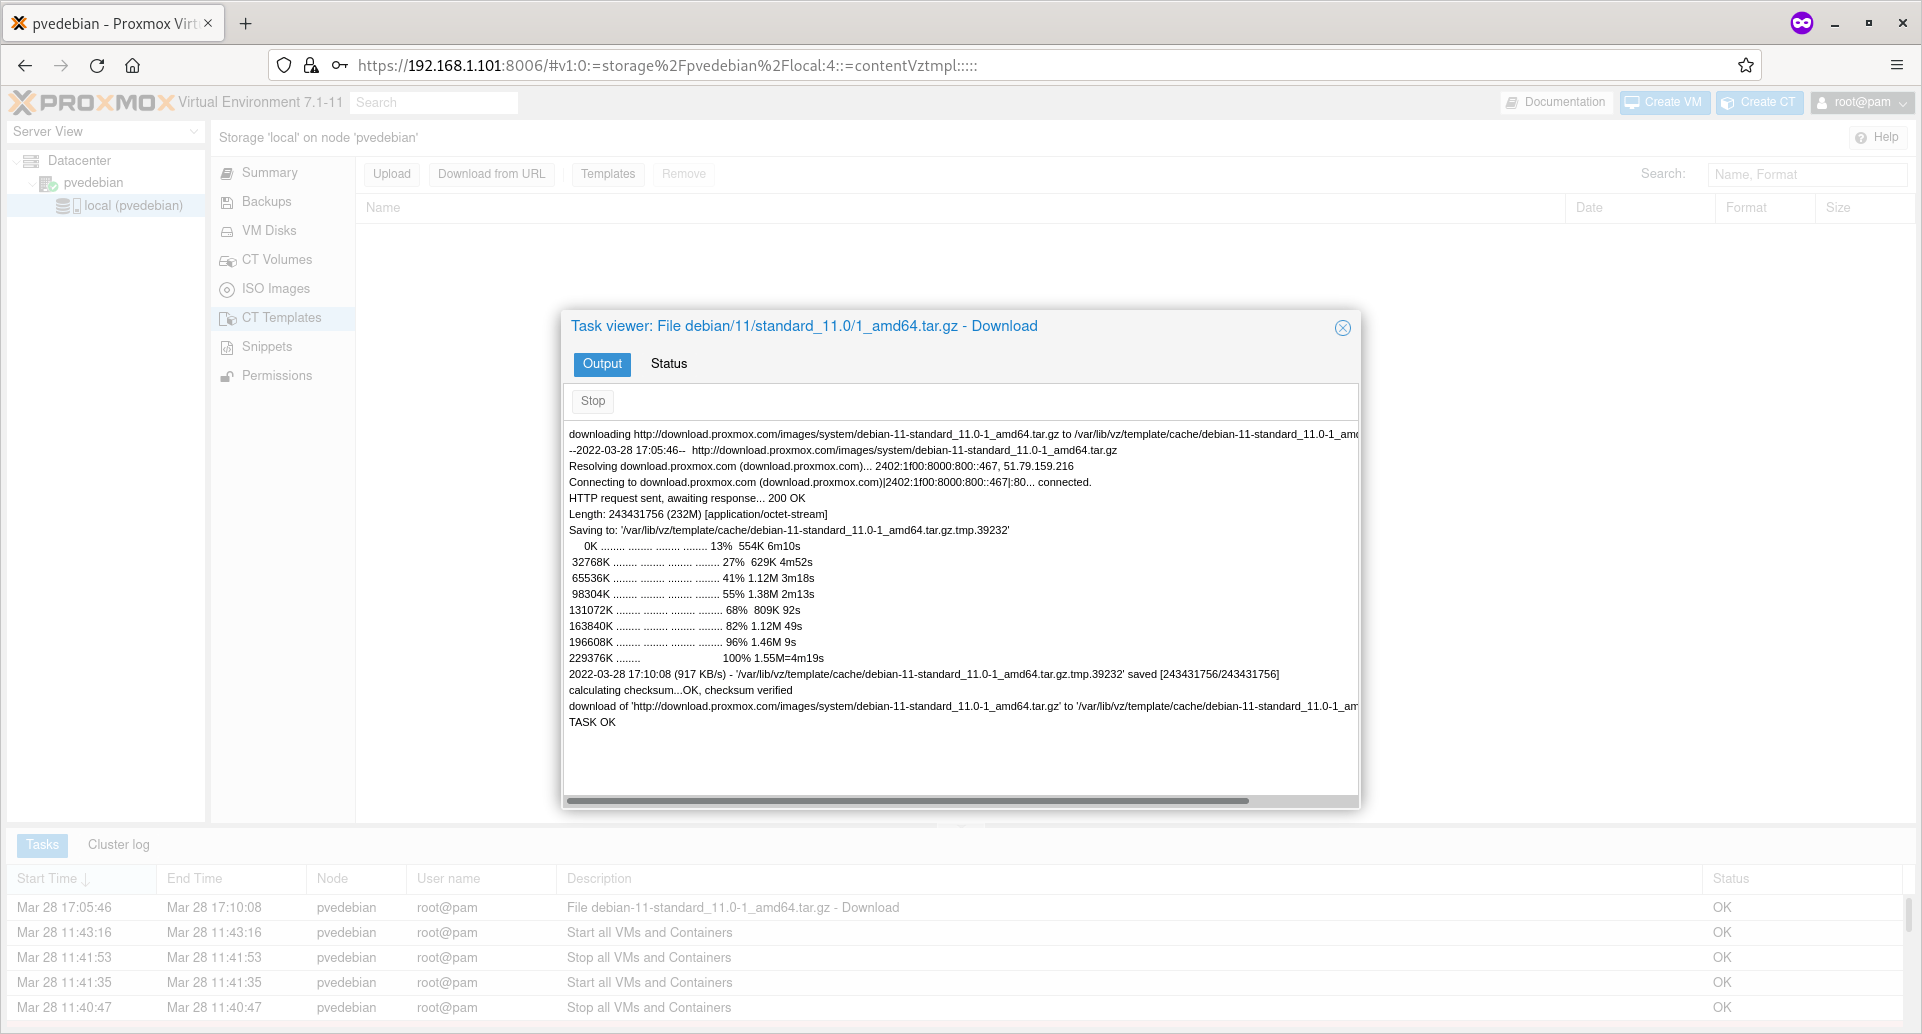 Debian Template Downloaded
You will now see the list of downloaded templates under ‘CT Templates’ section.
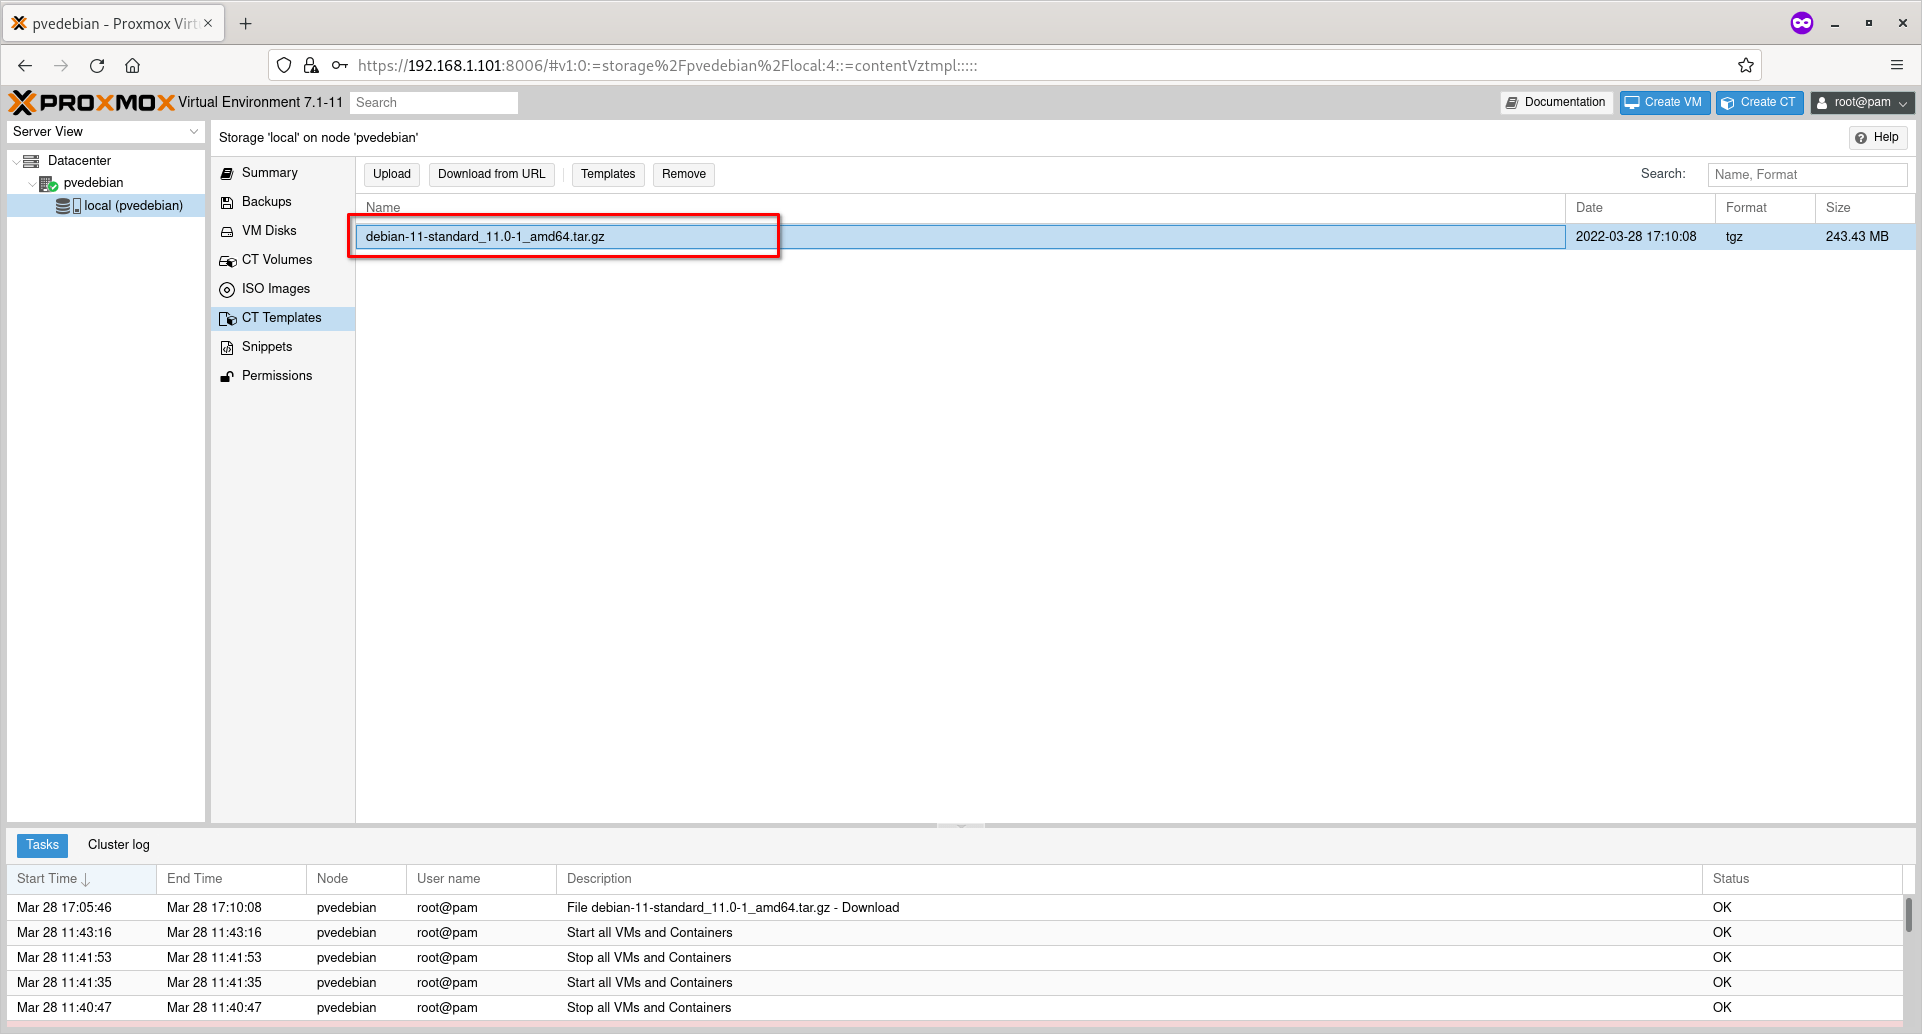 Available Container Templates In Proxmox
Now it is time to create the containers using a downloaded template.
Step 3 – Create Proxmox Container
Right click on the Proxmox node and click “Create CT“. In my case, pvedebian is the name of my Proxmox host.
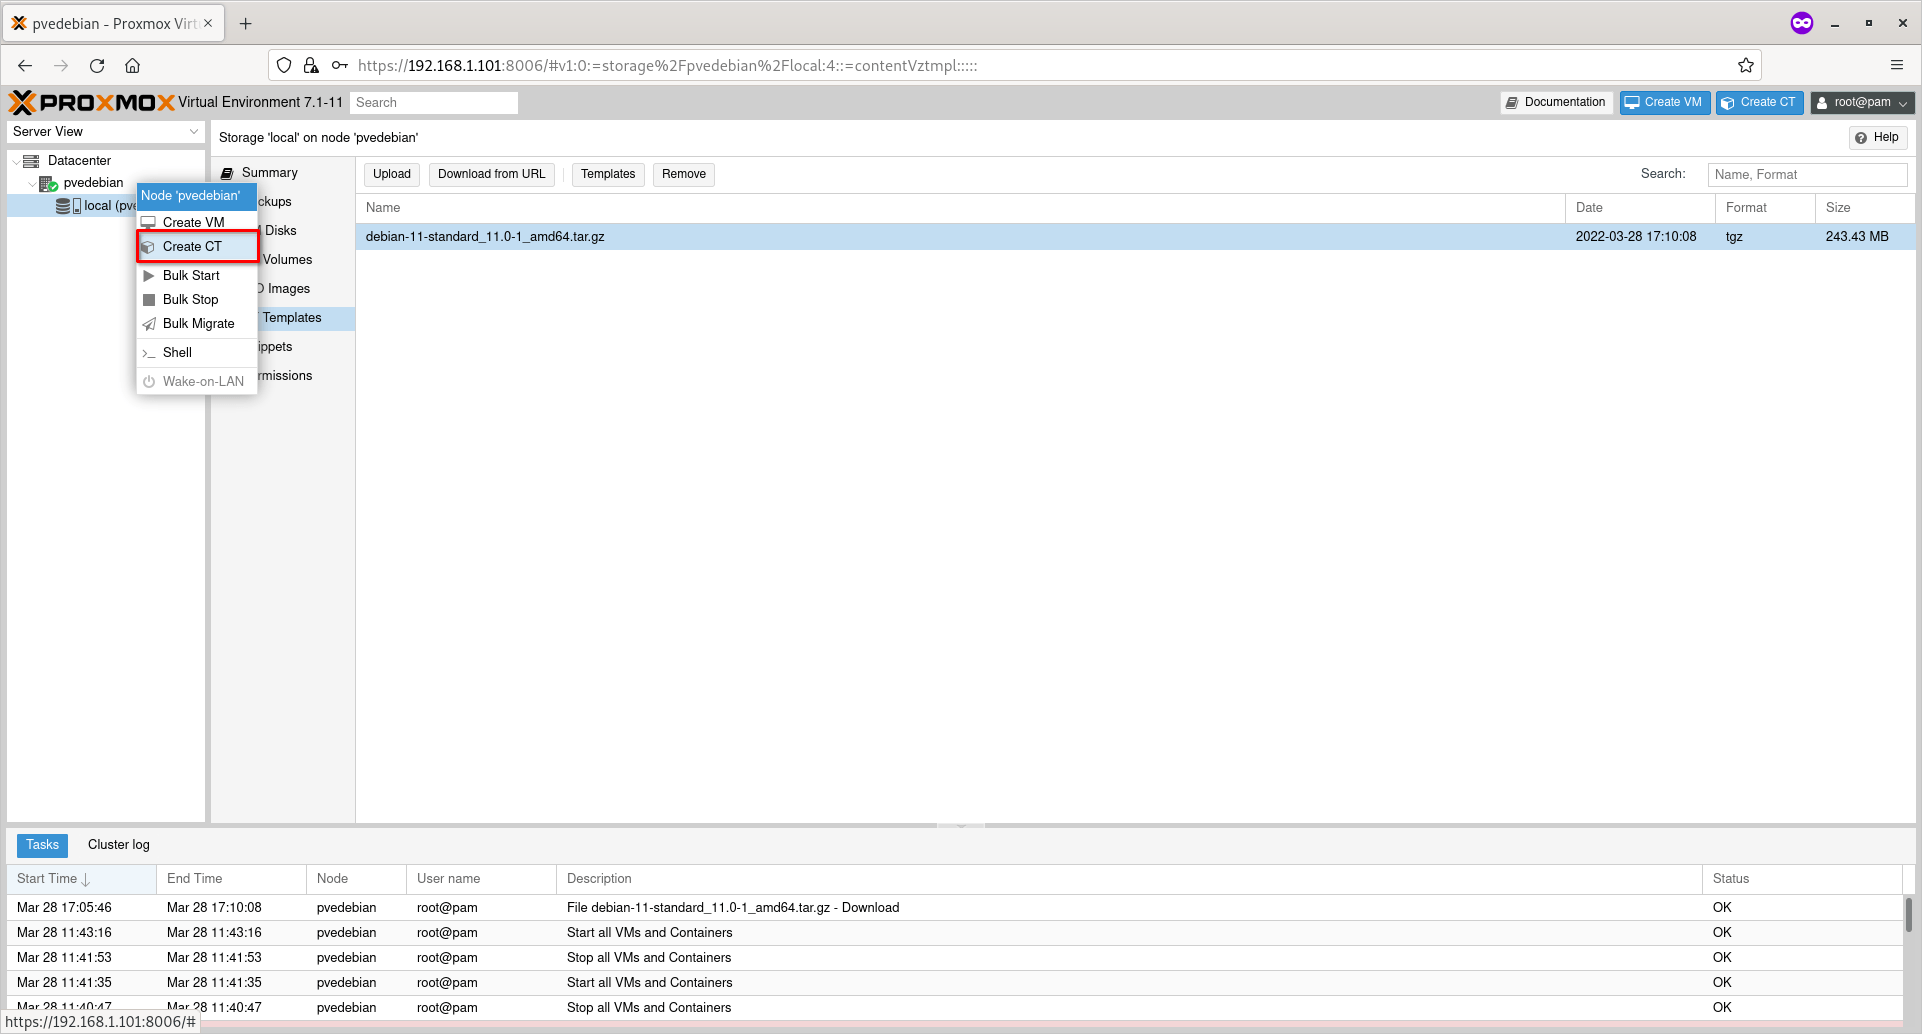 Create New Proxmox Container
Enter the name of the container and password for the ‘root’ user. You should not use underscore or space or any special characters for the hostname. Click Next to continue.
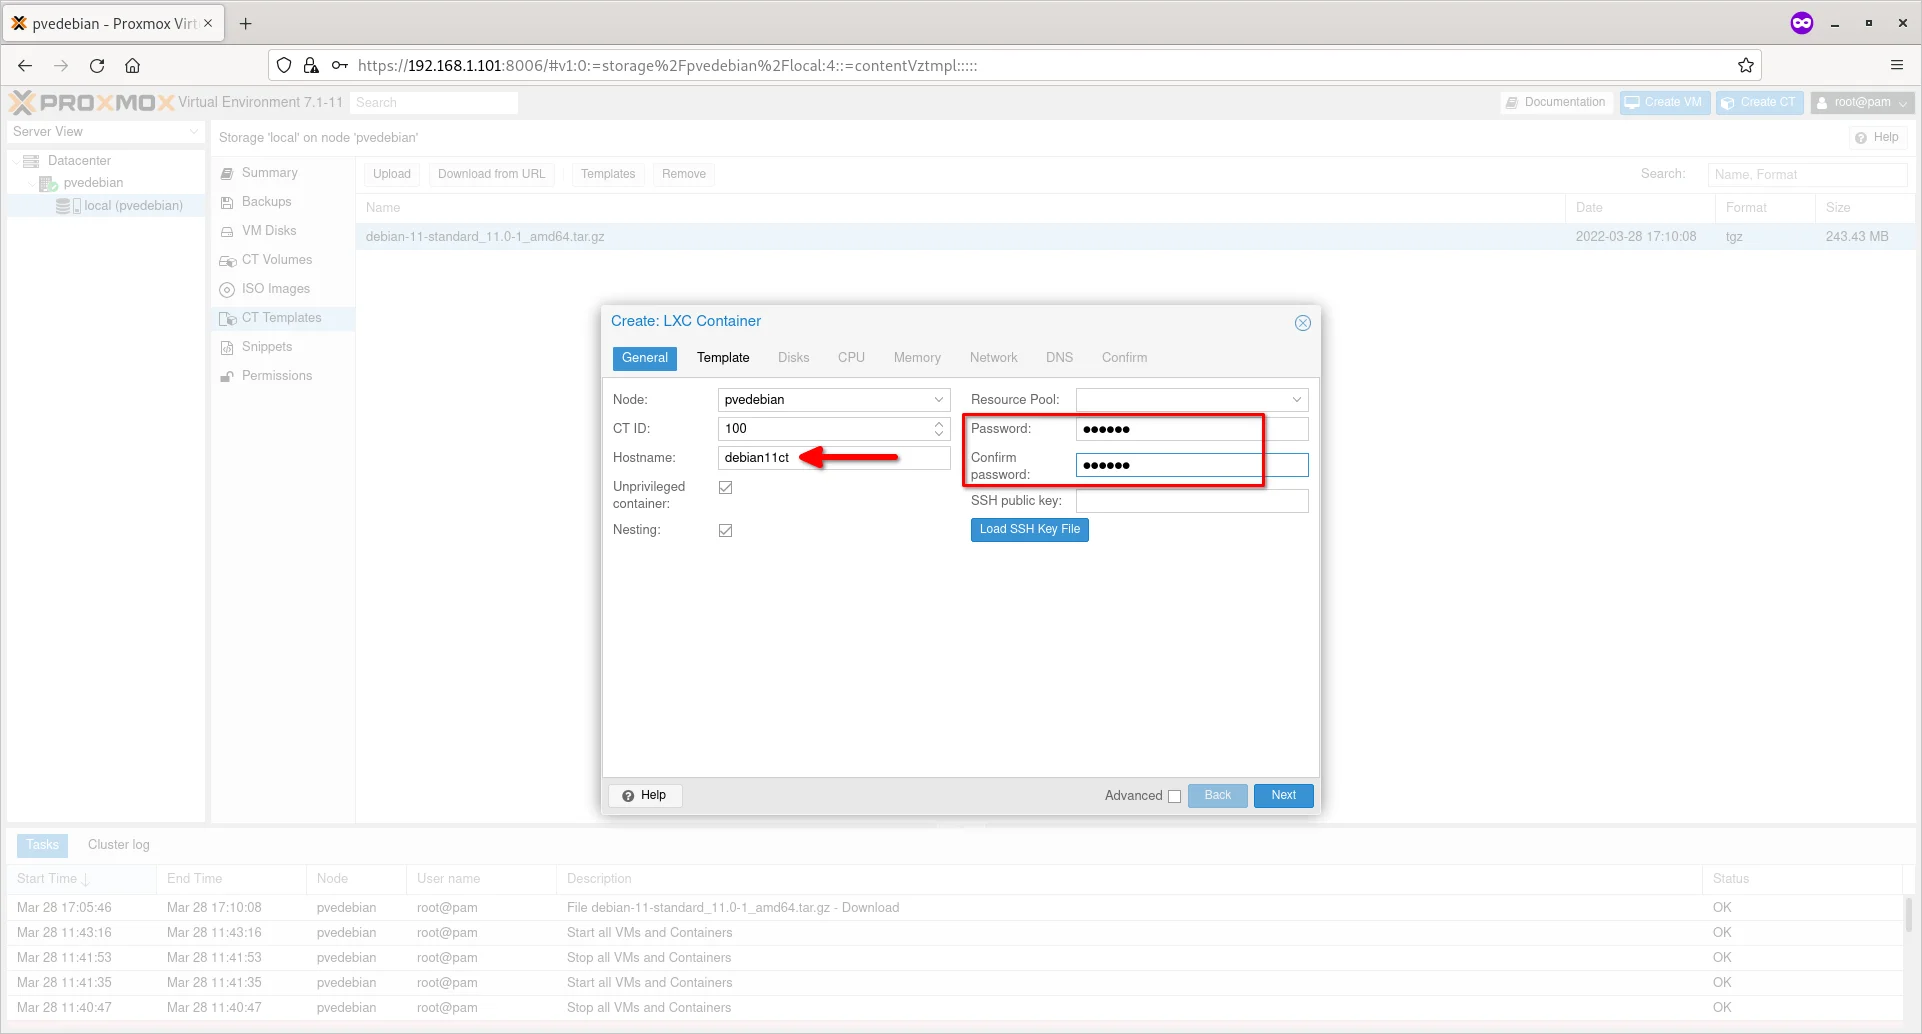 Enter Container Hostname And Root Password
Choose the Container template from the ‘Template’ drop-down box and click Next.
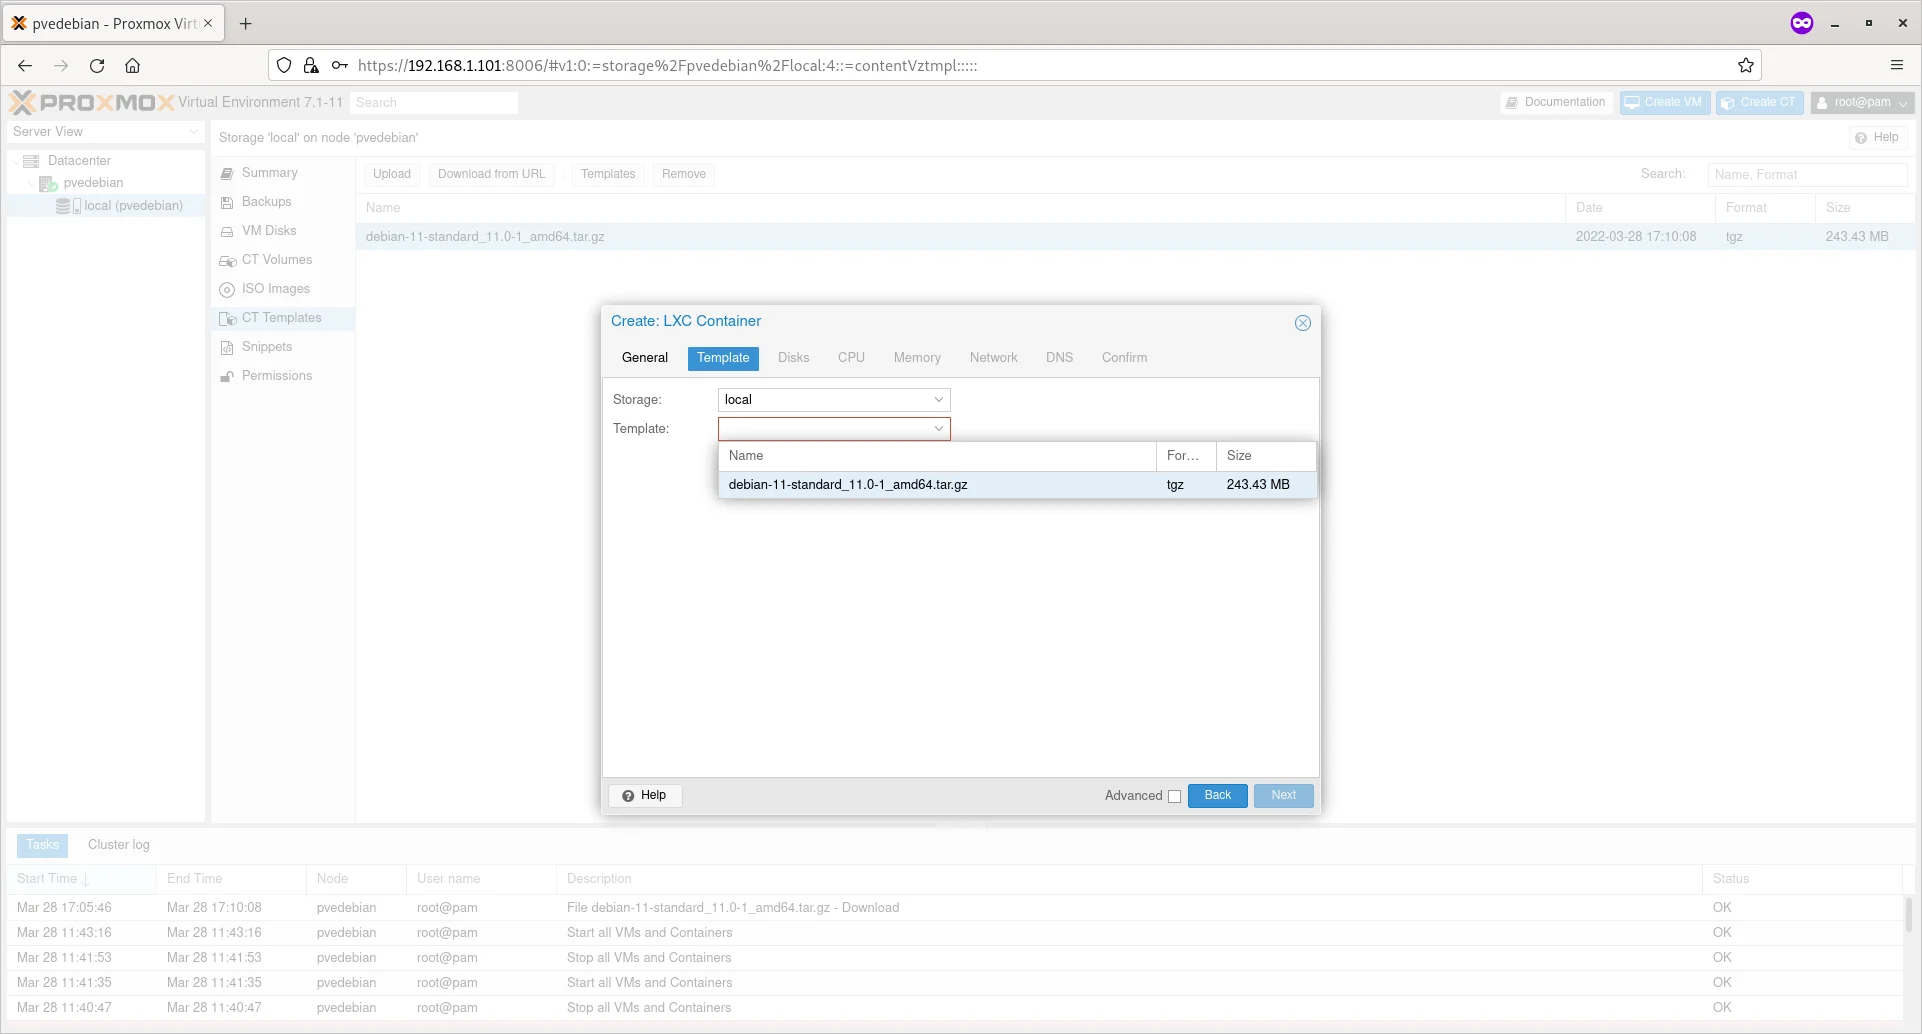 Choose Container Template
Enter the disk size for the new container and click Next.
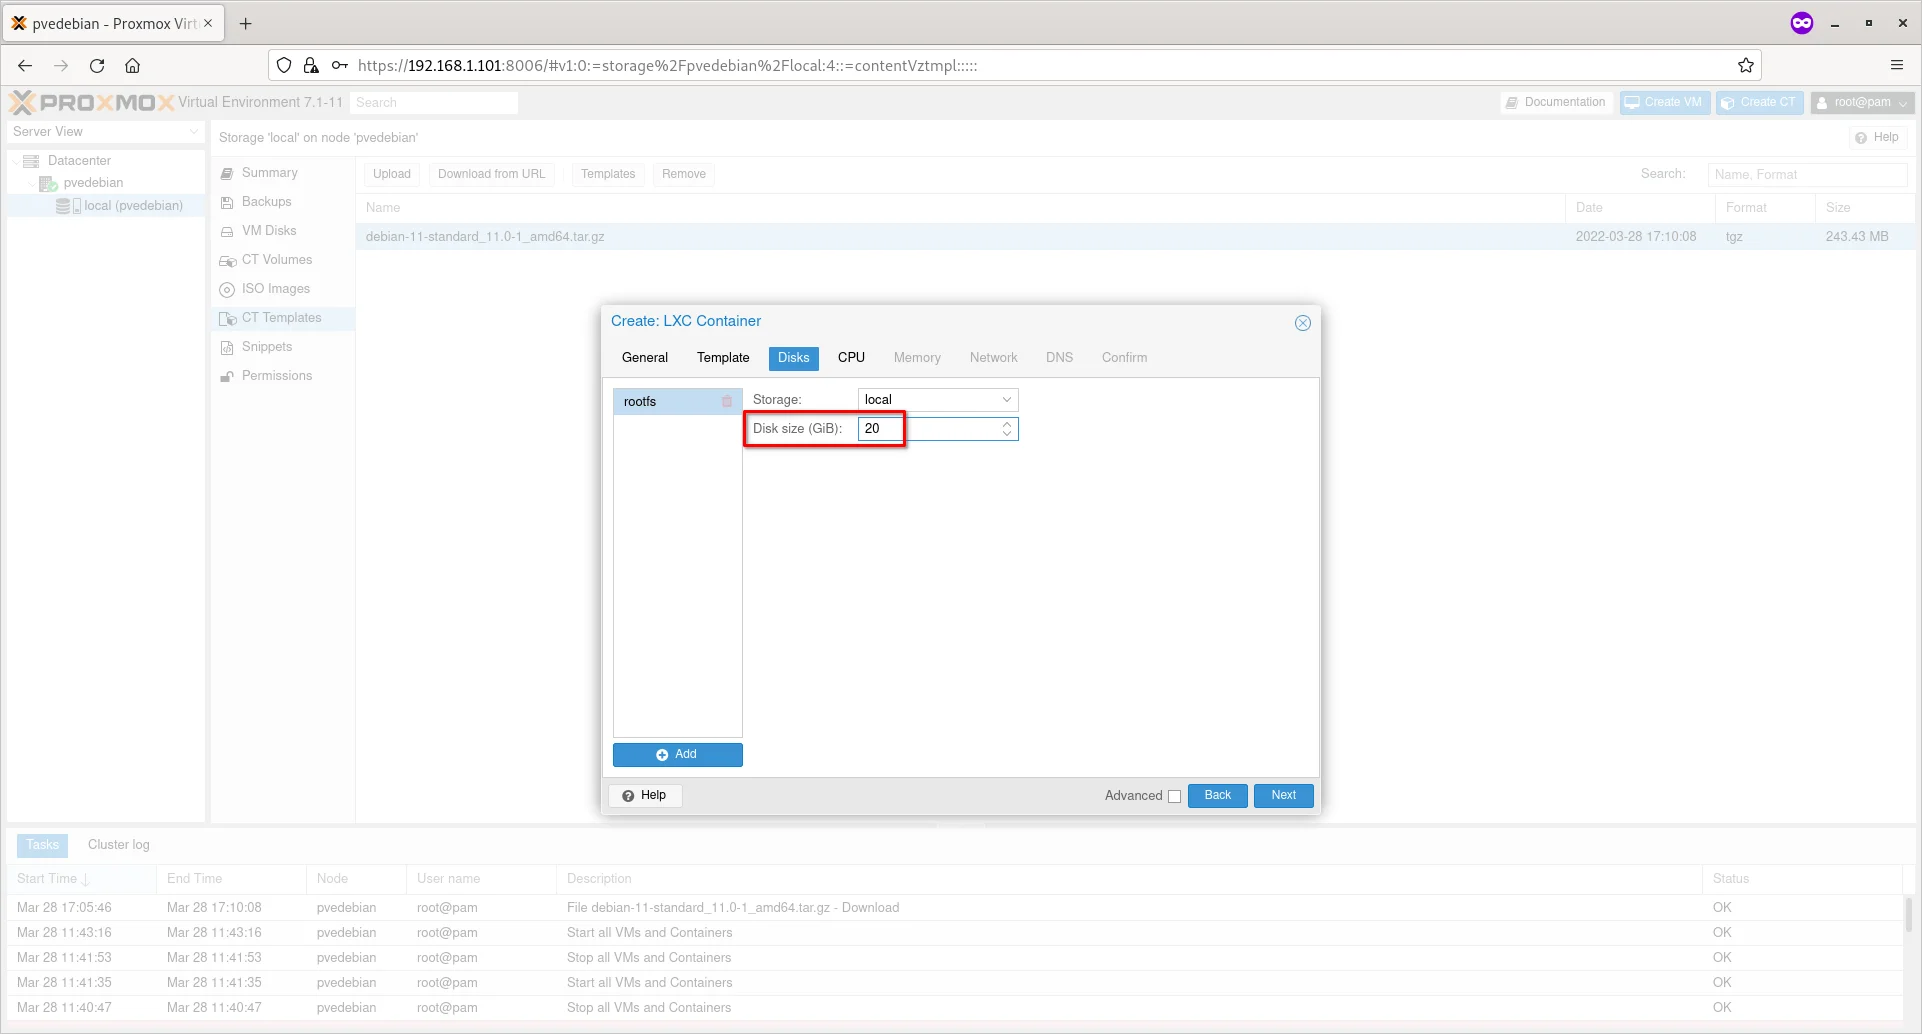 Enter Disk Size For Container
Choose the number of cores and click Next.
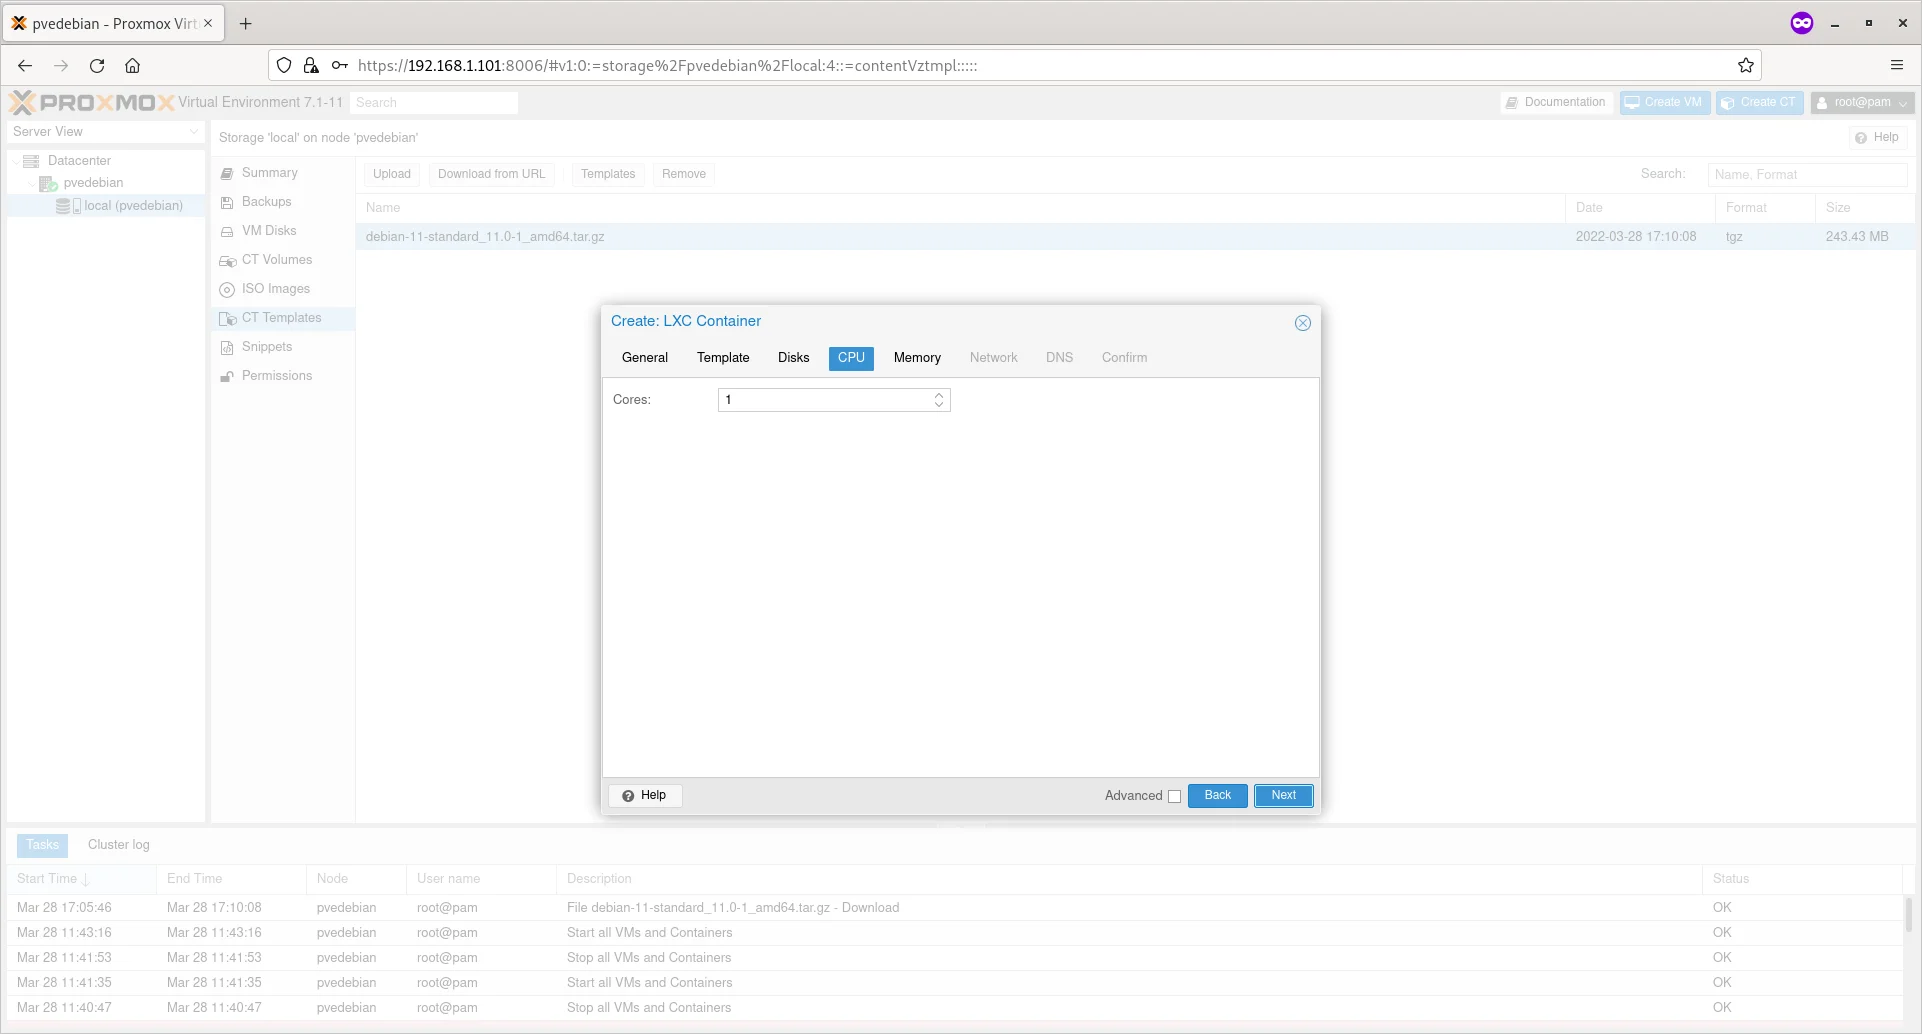 Enter Number Of Cores For Container
Enter the RAM size for your Container and click Next.
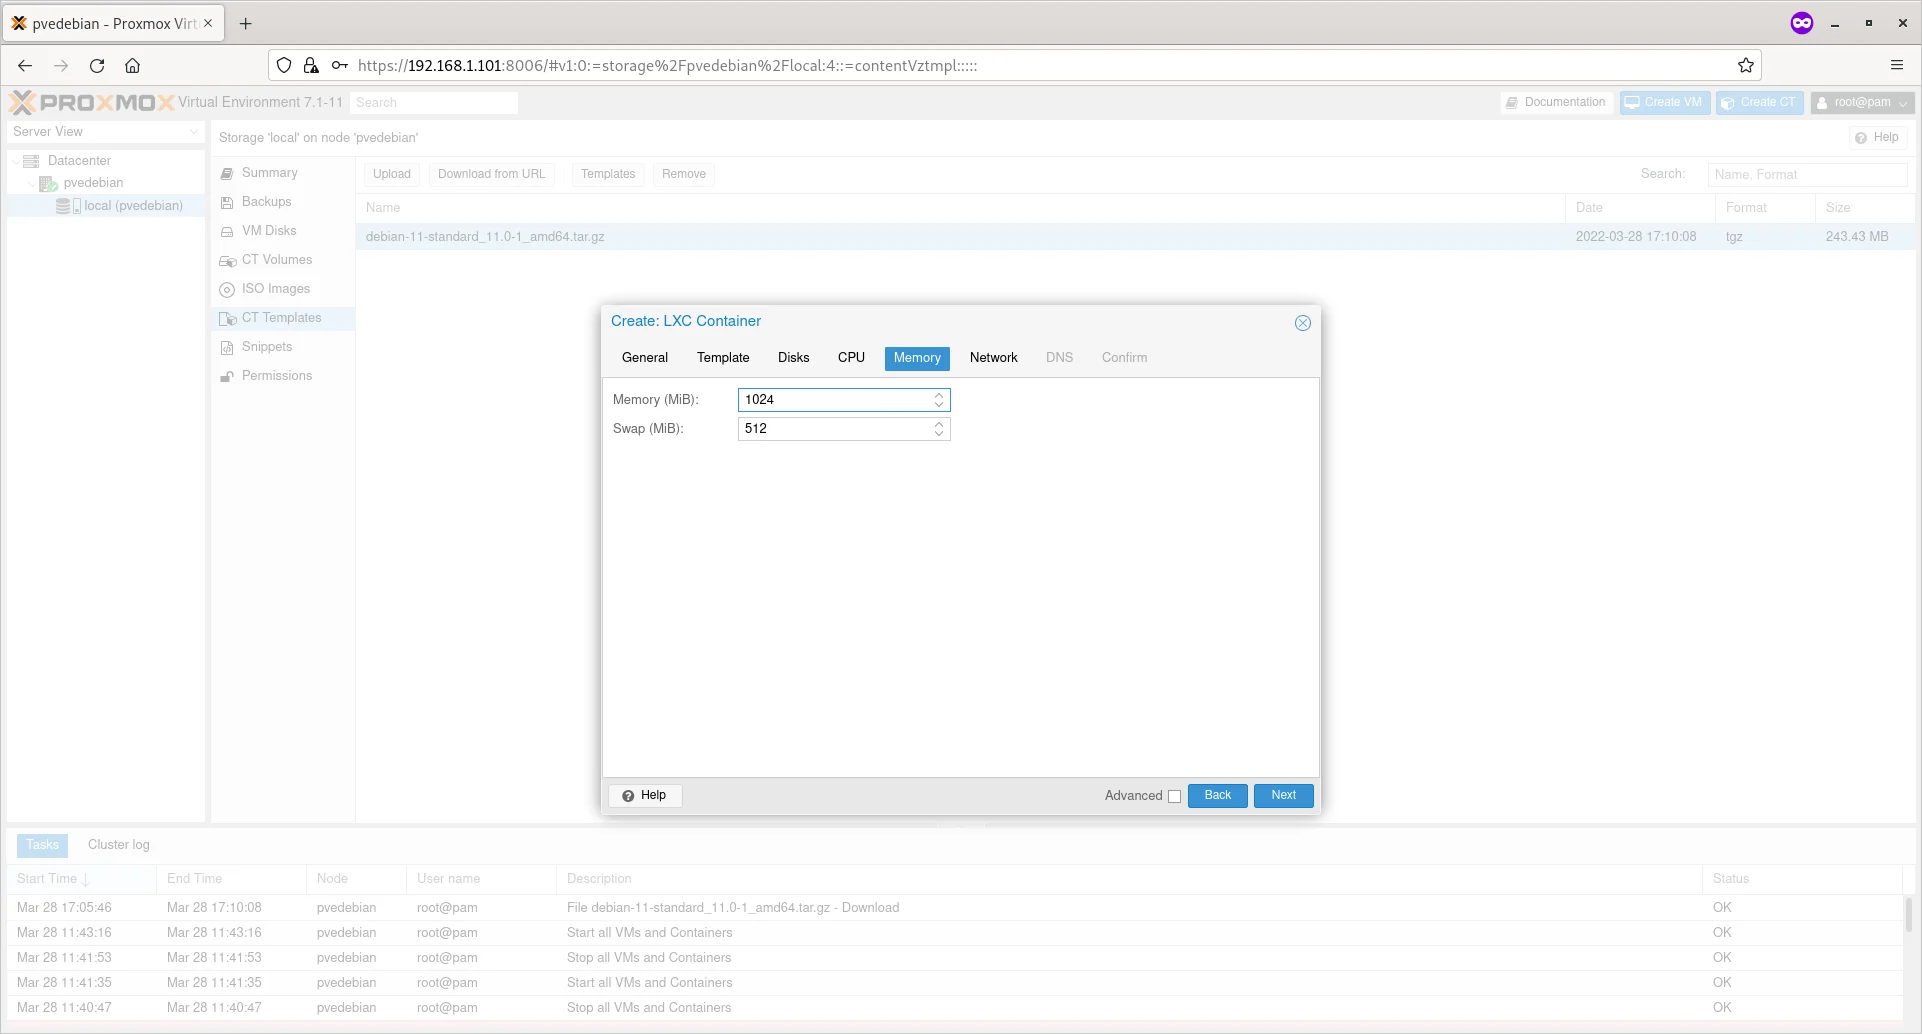 Enter RAM Size For Container
Enter the IP address and gateway for your container and click Next. Here, the gateway is optional. You can can enter gateway if you want to let the Container to talk to other Containers in the network.
Also, keep in mind that the gateway must be your network bridge’s (vmbr0) IP address and the IP address of the Container should be within the same subnet. For instance, if the IP address of the network bridge is 192.168.1.101, the IP address of the Container should be 192.168.1.x/24. Also you must mention the subnet mask along with the IP address (E.g. 192.168.1.15/24) as well.
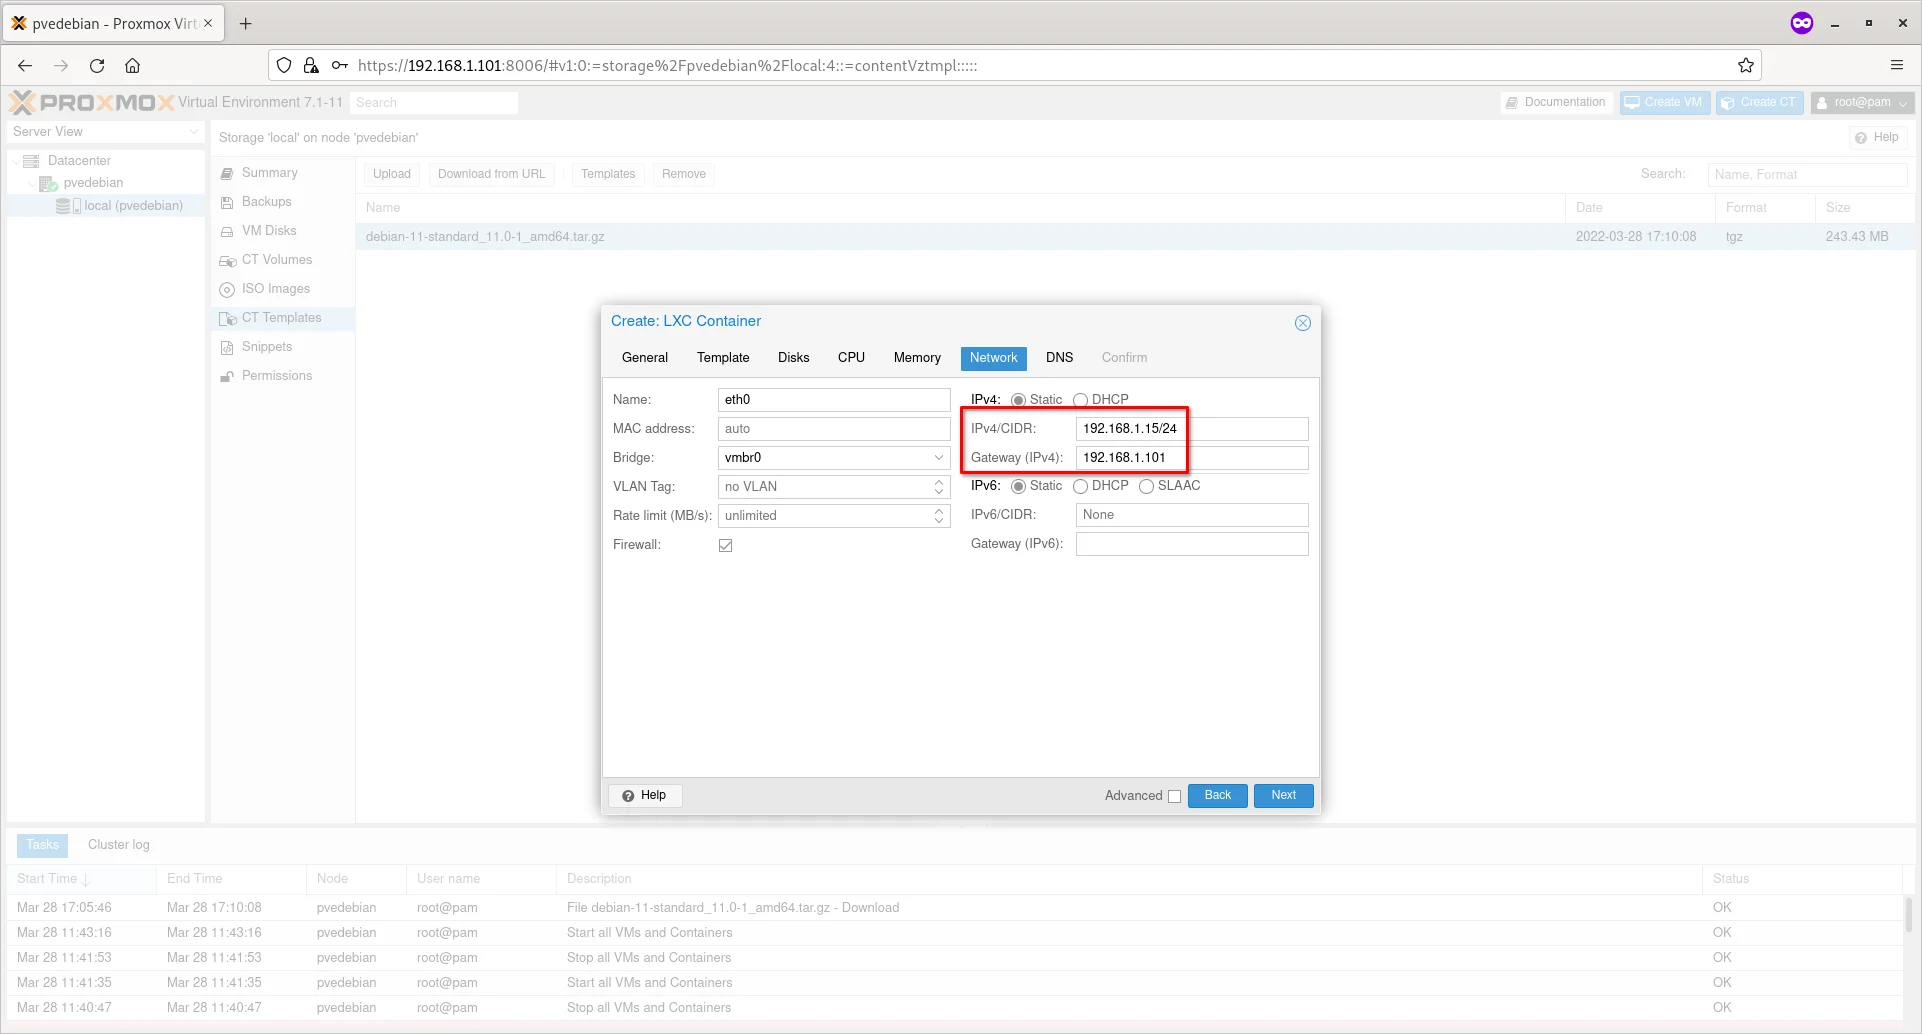 Enter IP Address And Gateway For Container
Enter the public DNS server (E.g. 8.8.8.8) if you want to let your container to connect to Internet. Make sure you have typed the DNS in the correct field.
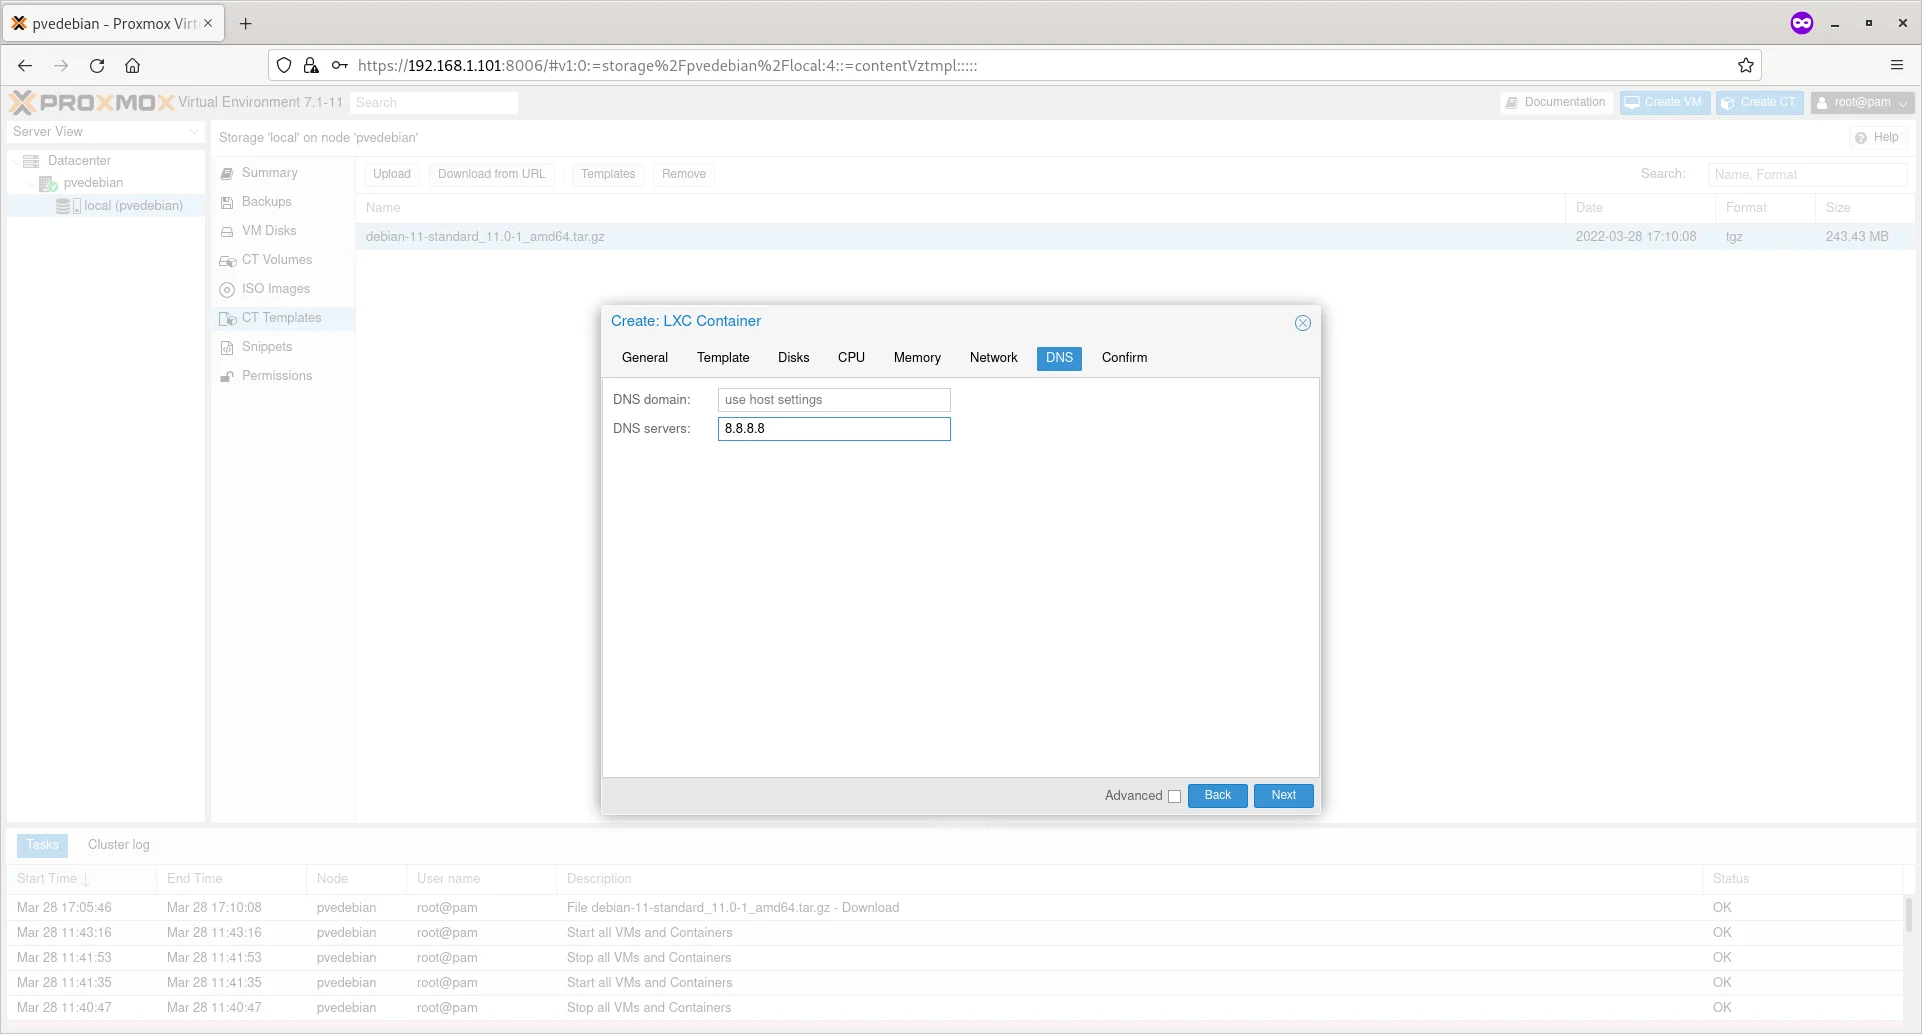 Enter DNS Server IP For Container
Review the settings/options and if you’re OK with it, click Finish button to create the Proxmox Container.
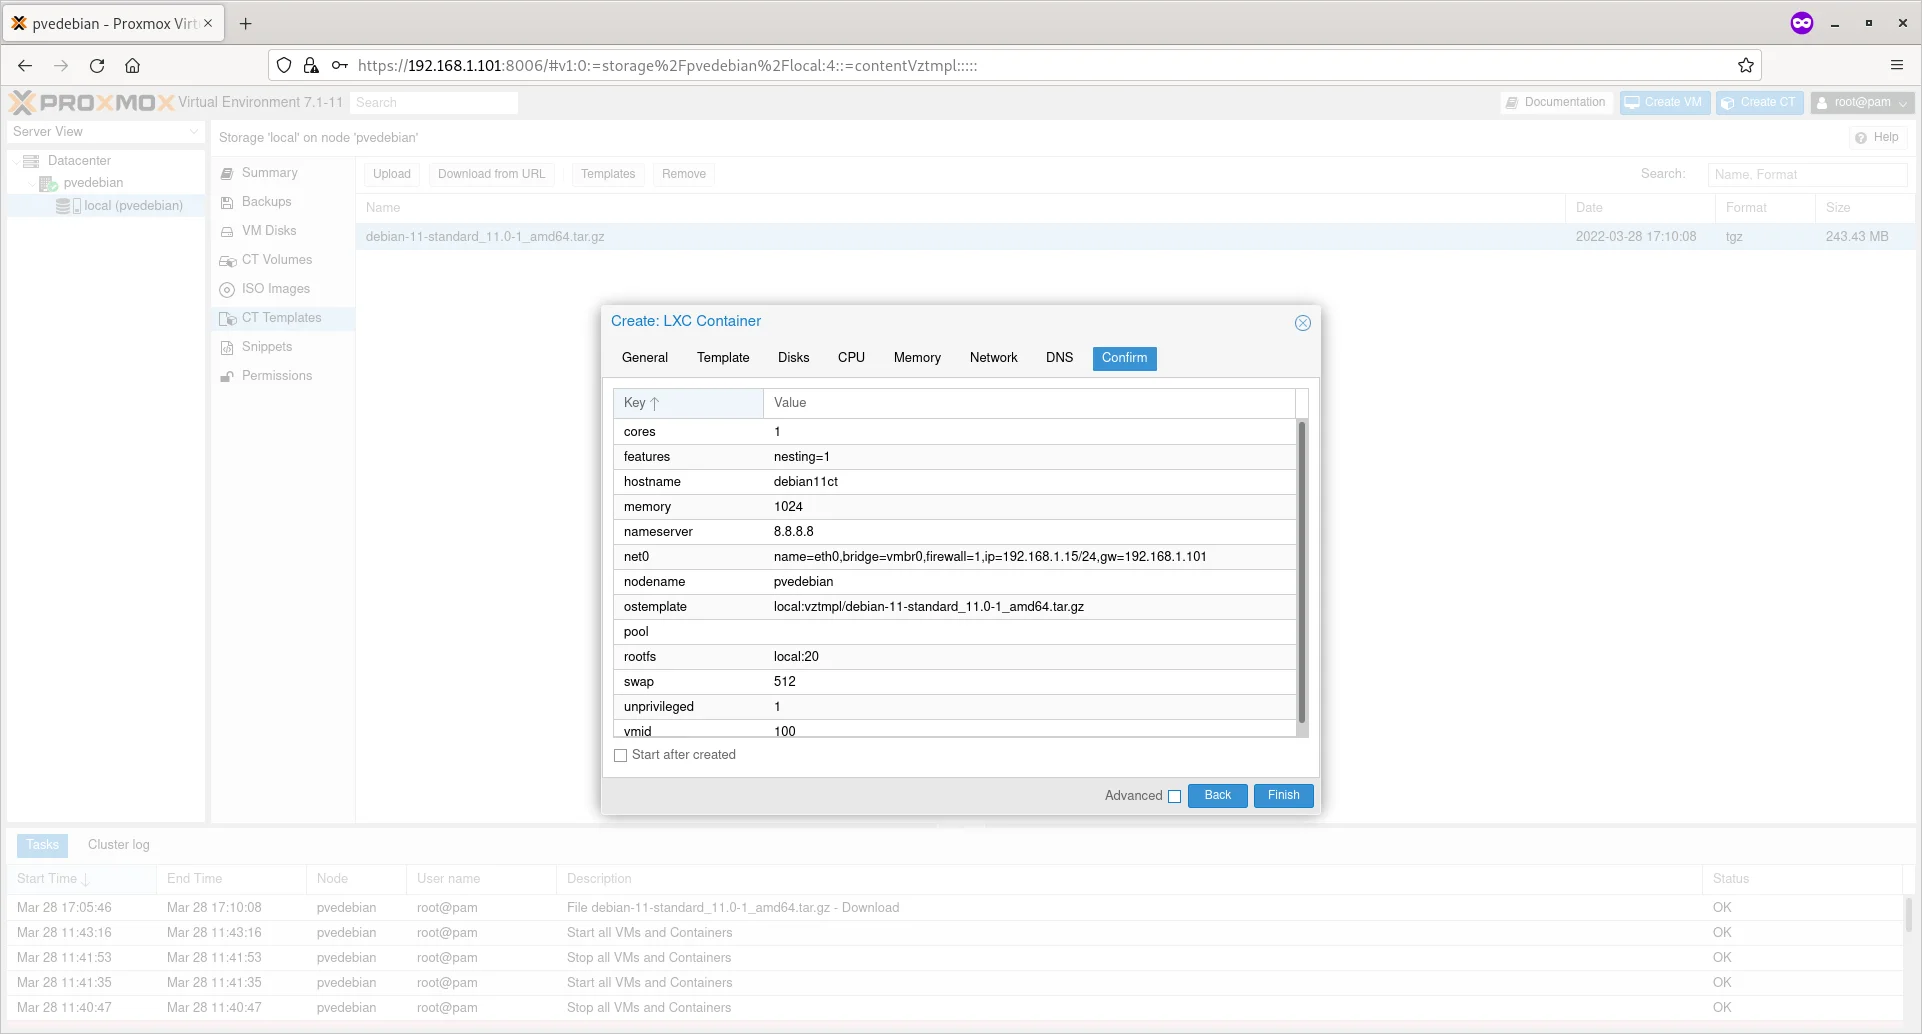 Review Container Settings
Upon successful container creation, you will the ‘TASK OK’ message in the output.
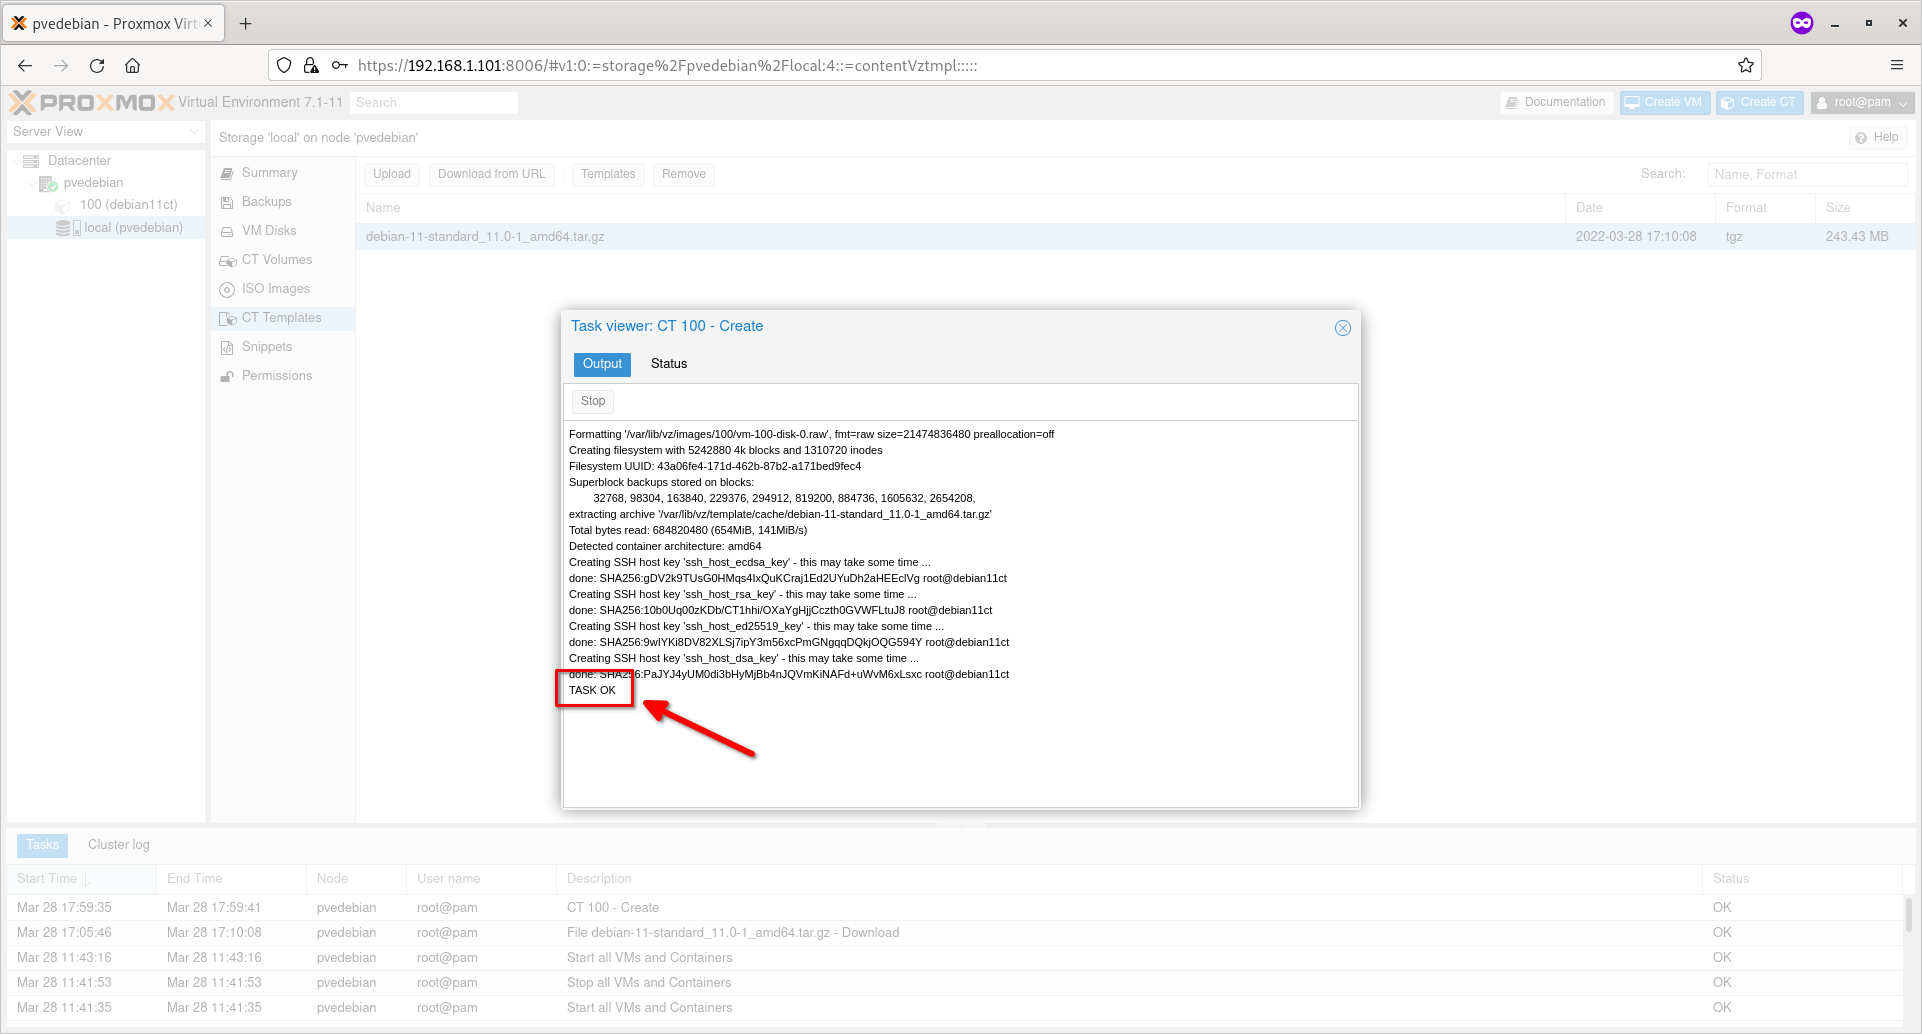 Proxmox Container Is Created Successfully
Close the dialog box and the newly created Proxmox container is listed under your Proxmox node on the left pane.
In the following screenshot, you see the container named ‘debian11ct’ with container ID ‘100’ under ‘pvedebian’ node.
Click on the Container to view the summary of it.
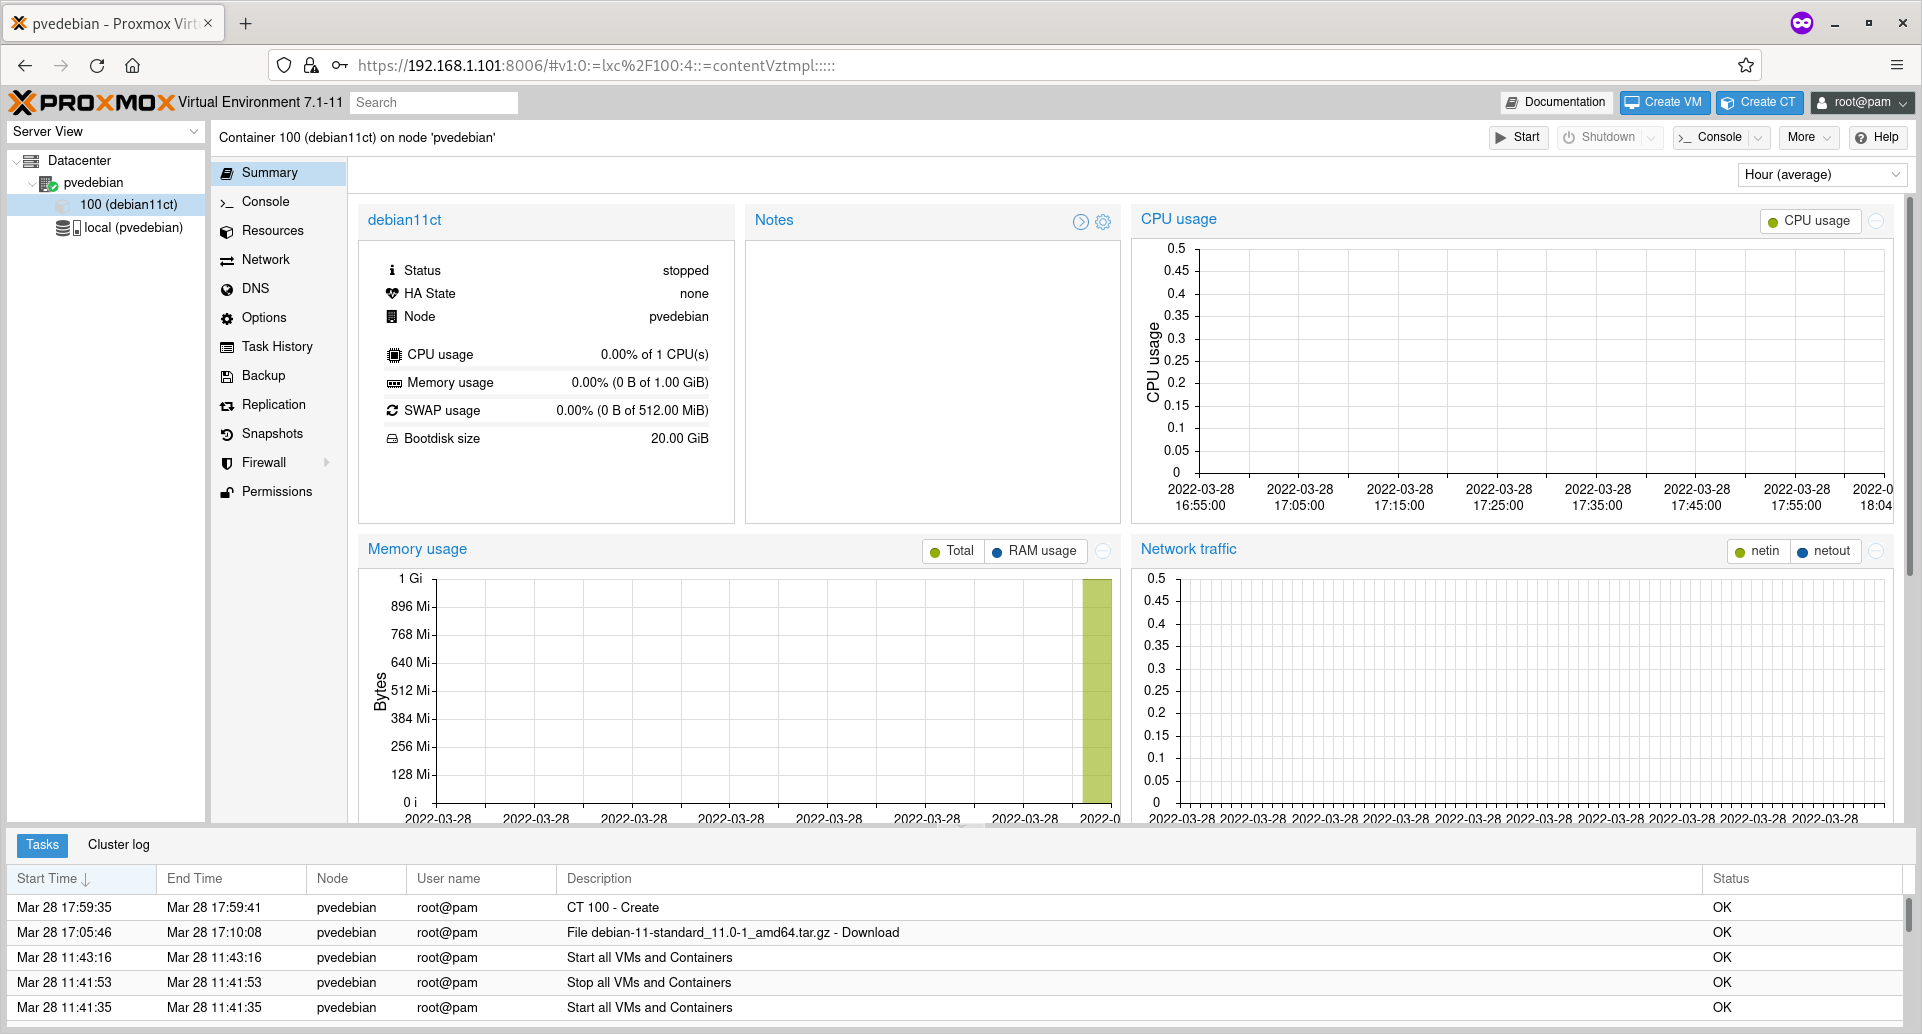 Container Summary
In the Summary section, you can view the Container’s uptime, cpu usage, memory usage, network traffic, and disk I/O etc.
You can also configure or change the various parameters (E.g. Access Console, Network, DNS, Firewall, Snapshot, Backup etc.) from the center pane.
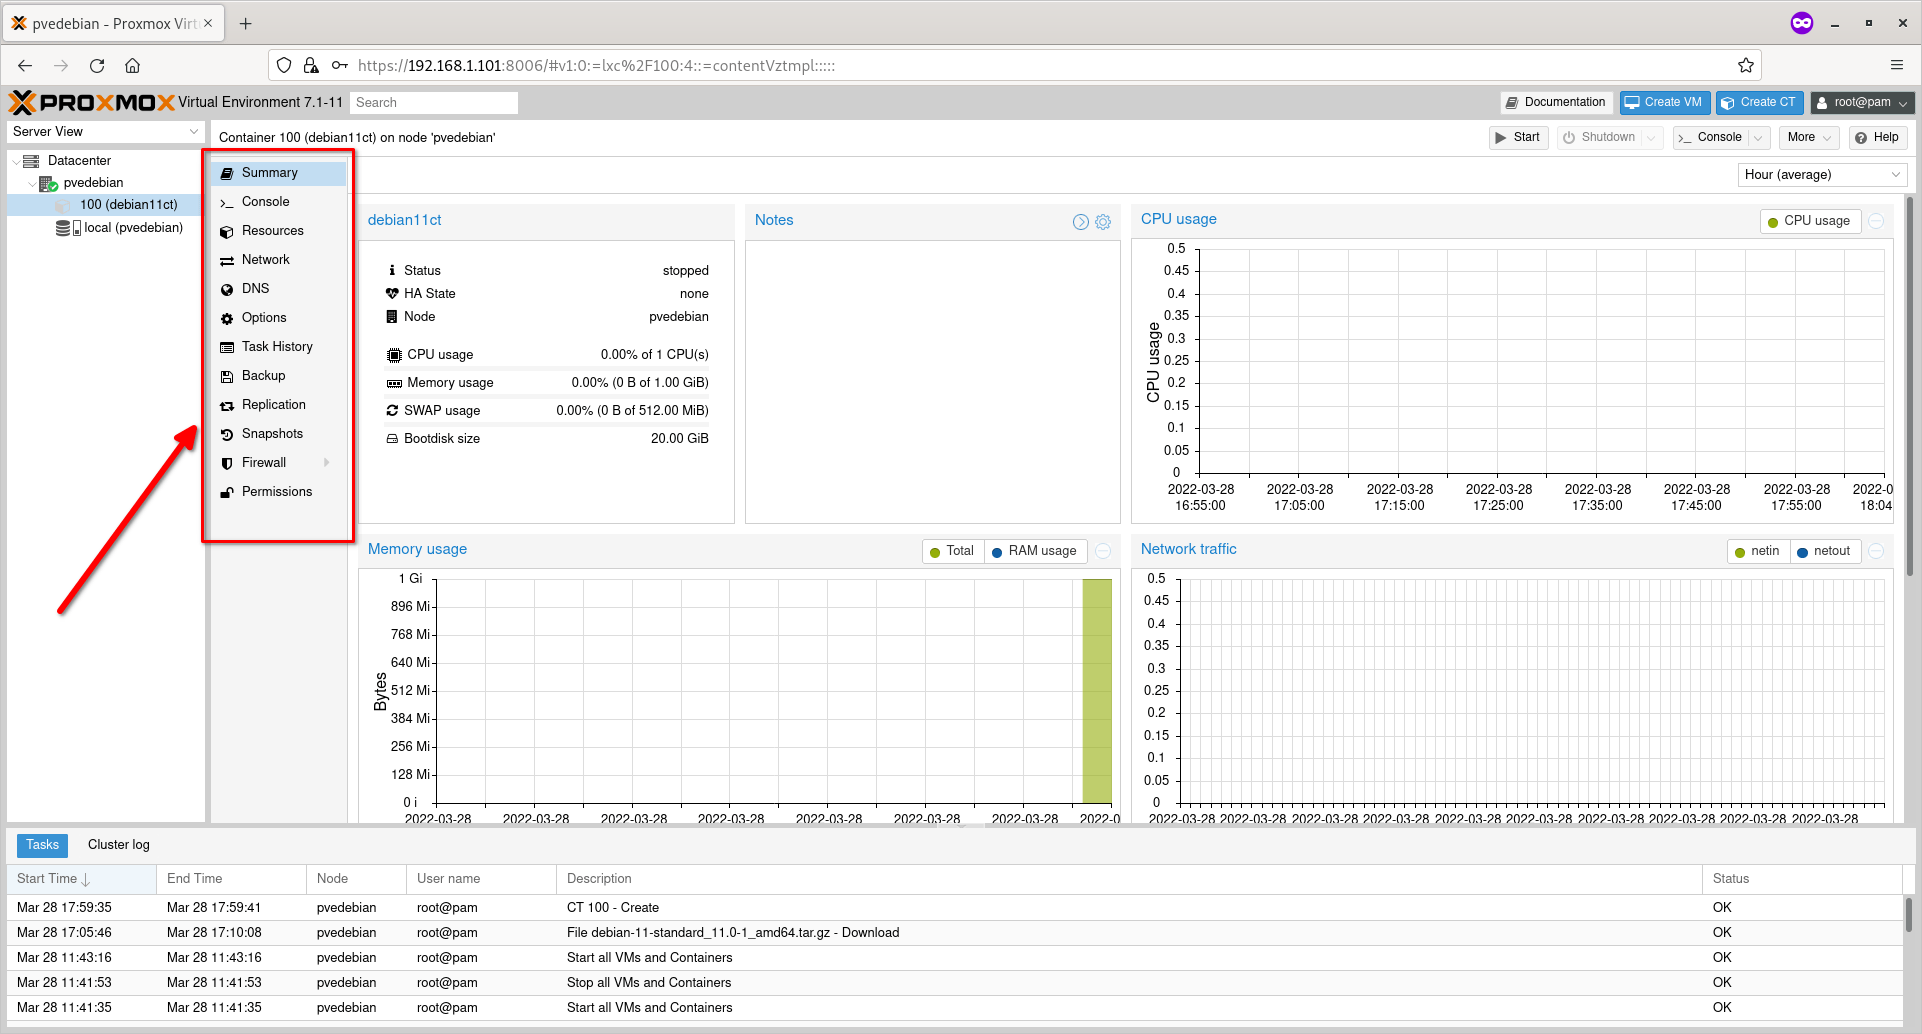 Configure Container Parameters
Step 4 – Start Containers
To start a Container, just click on its name and then click ‘Start’ button on the top right corner.
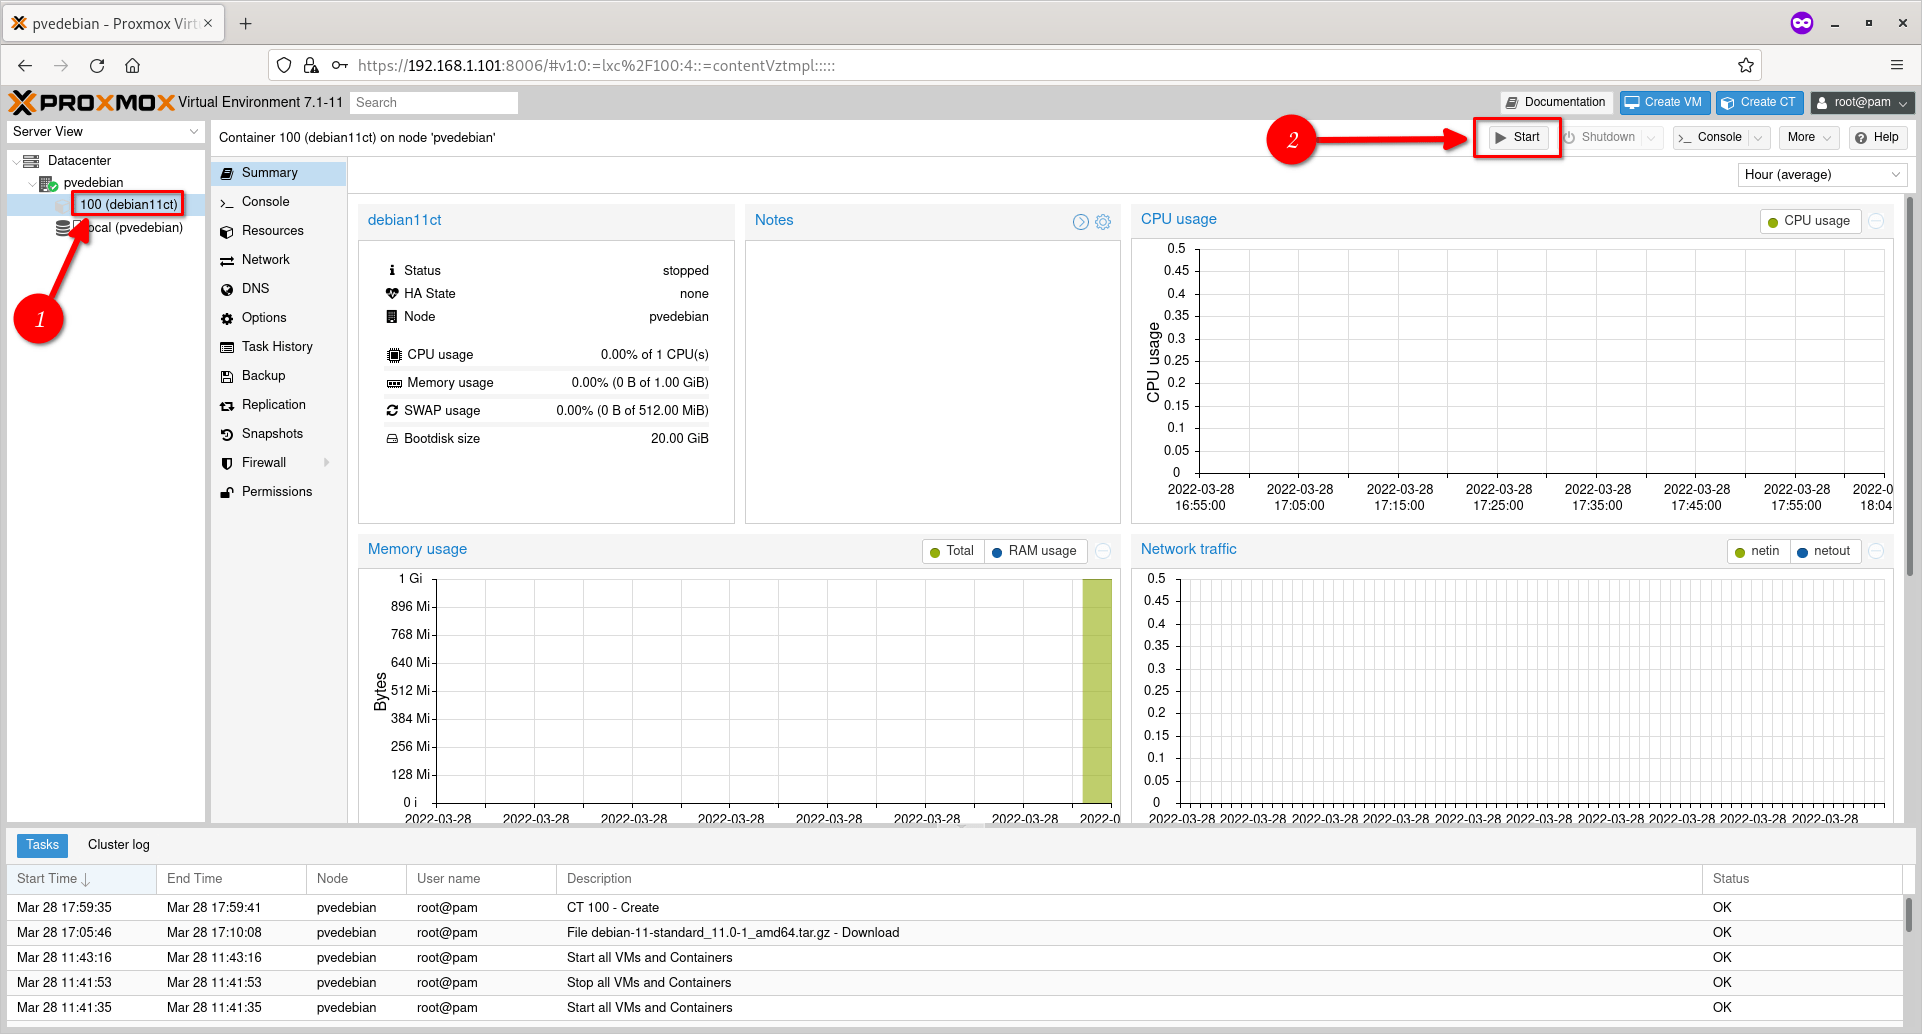 Start A Proxmox Container
Step 5 – Access Console Of Containers
To access the console screen of a running Container, click the ‘Console’ action button on the top right corner.
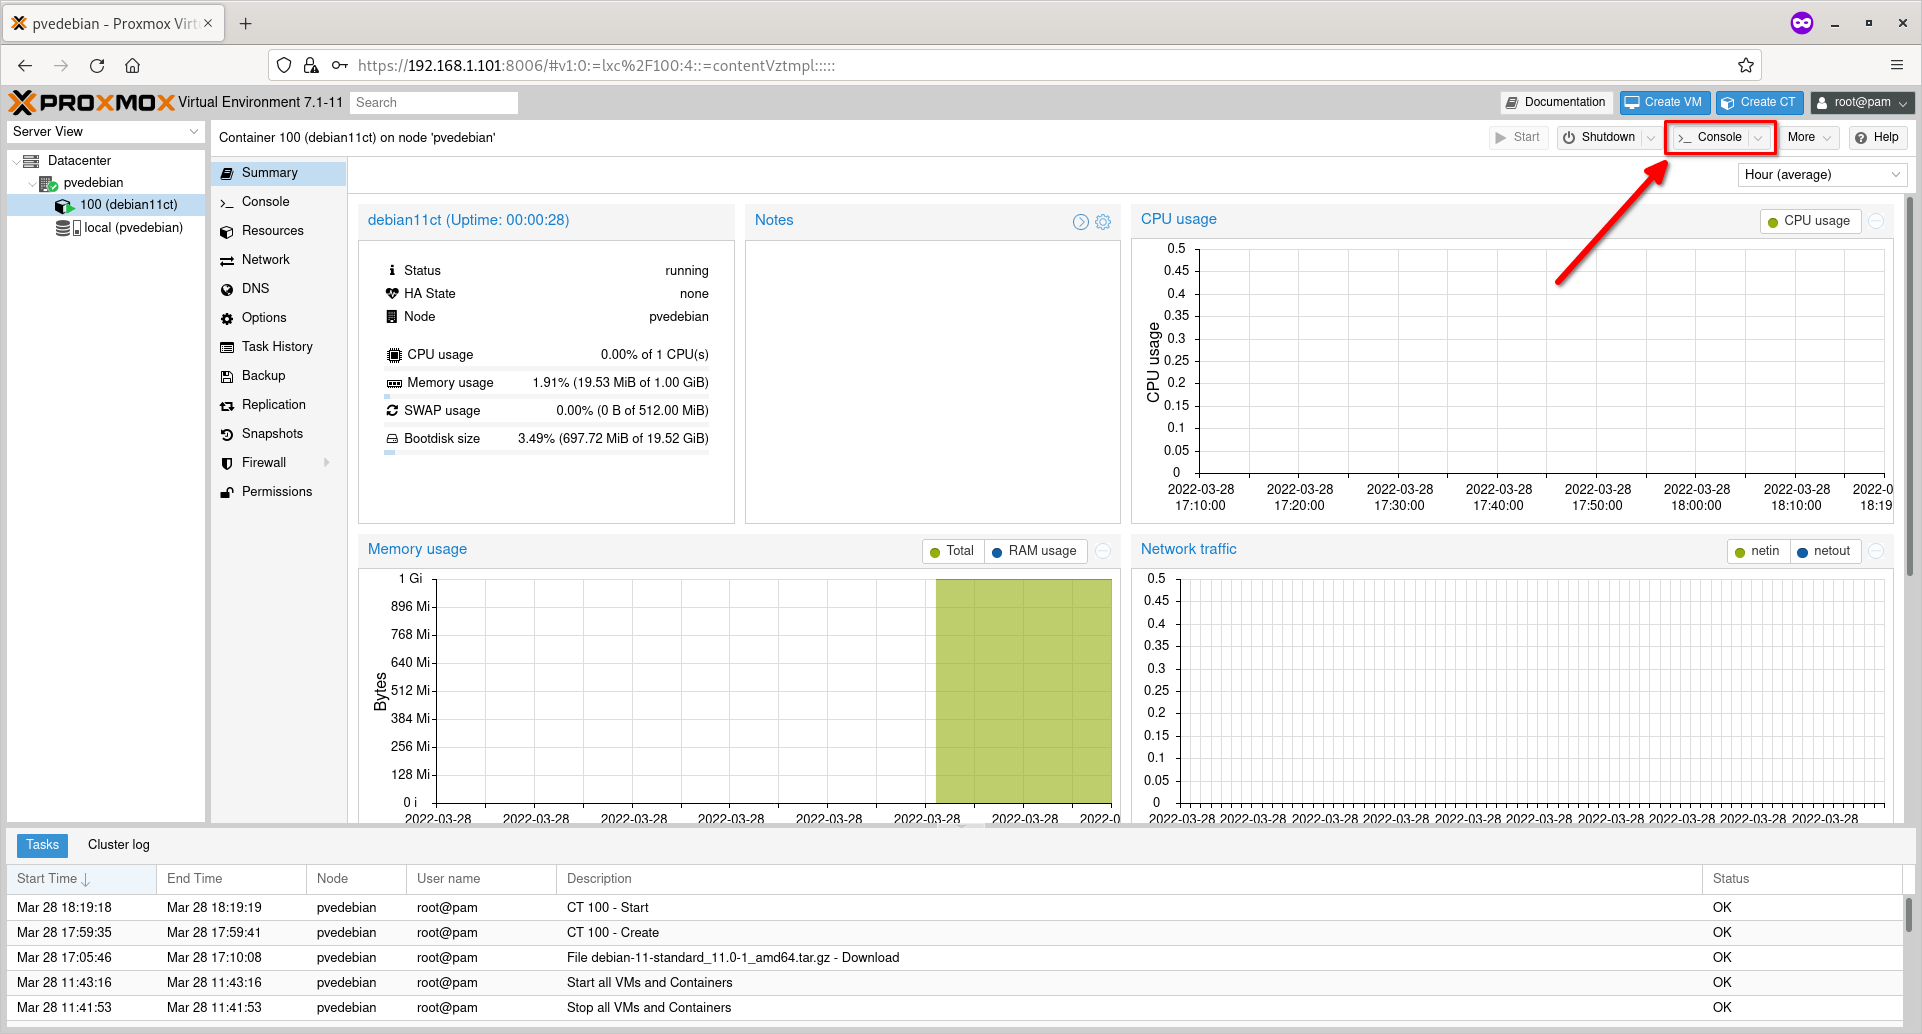 Access Proxmox Console
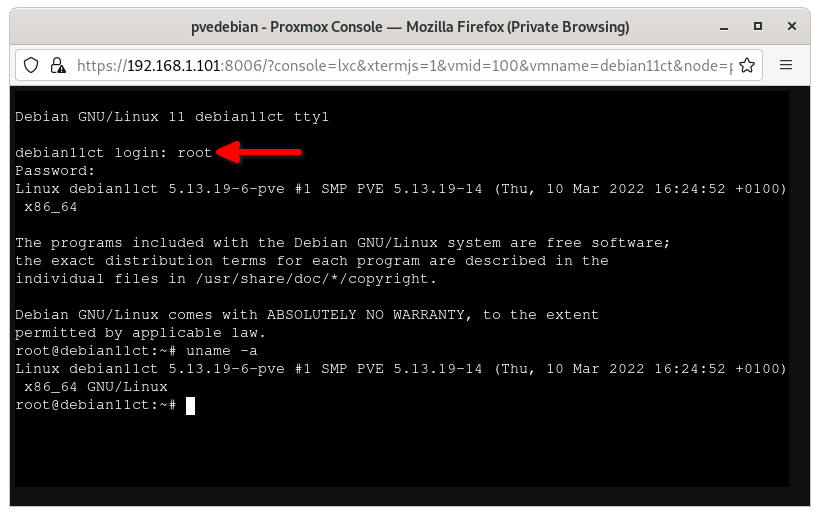
The console of the running Container will open in a separate browser window. Enter the user name (i.e. root) and its password to login to the Container’s console.
 Proxmox Container Console
Even if you close this browser window, the Container remains running in the background.
Did you notice the output of uname command in the above screenshot? It shows the same Kernel version of the Proxmox host, because Containers user the same underlying Kernel of the Proxmox hosts.
Step 6 – Shutdown/Reboot/Stop Containers
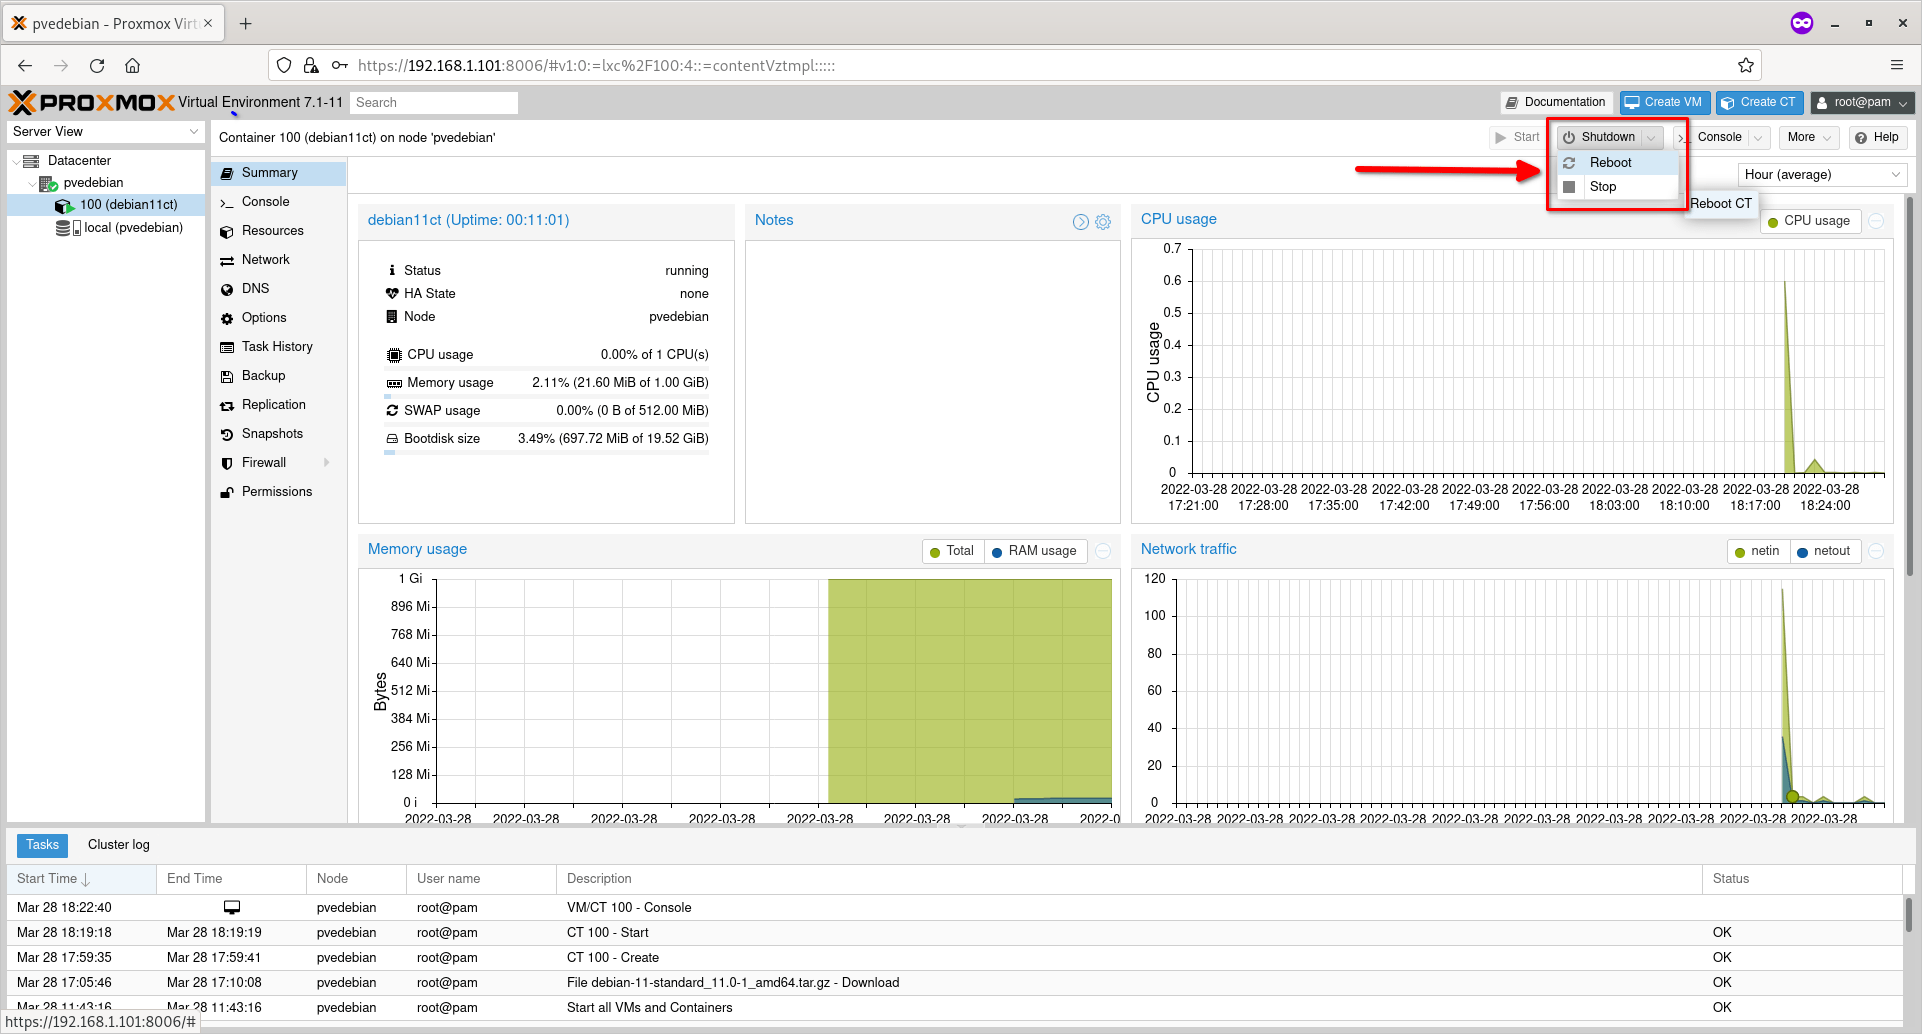
You can shutdown or reboot or pause/resume a running container using the respective action buttons on the top.
 Shutdown, Reboot, Stop Container
Step 7 – Clone Containers
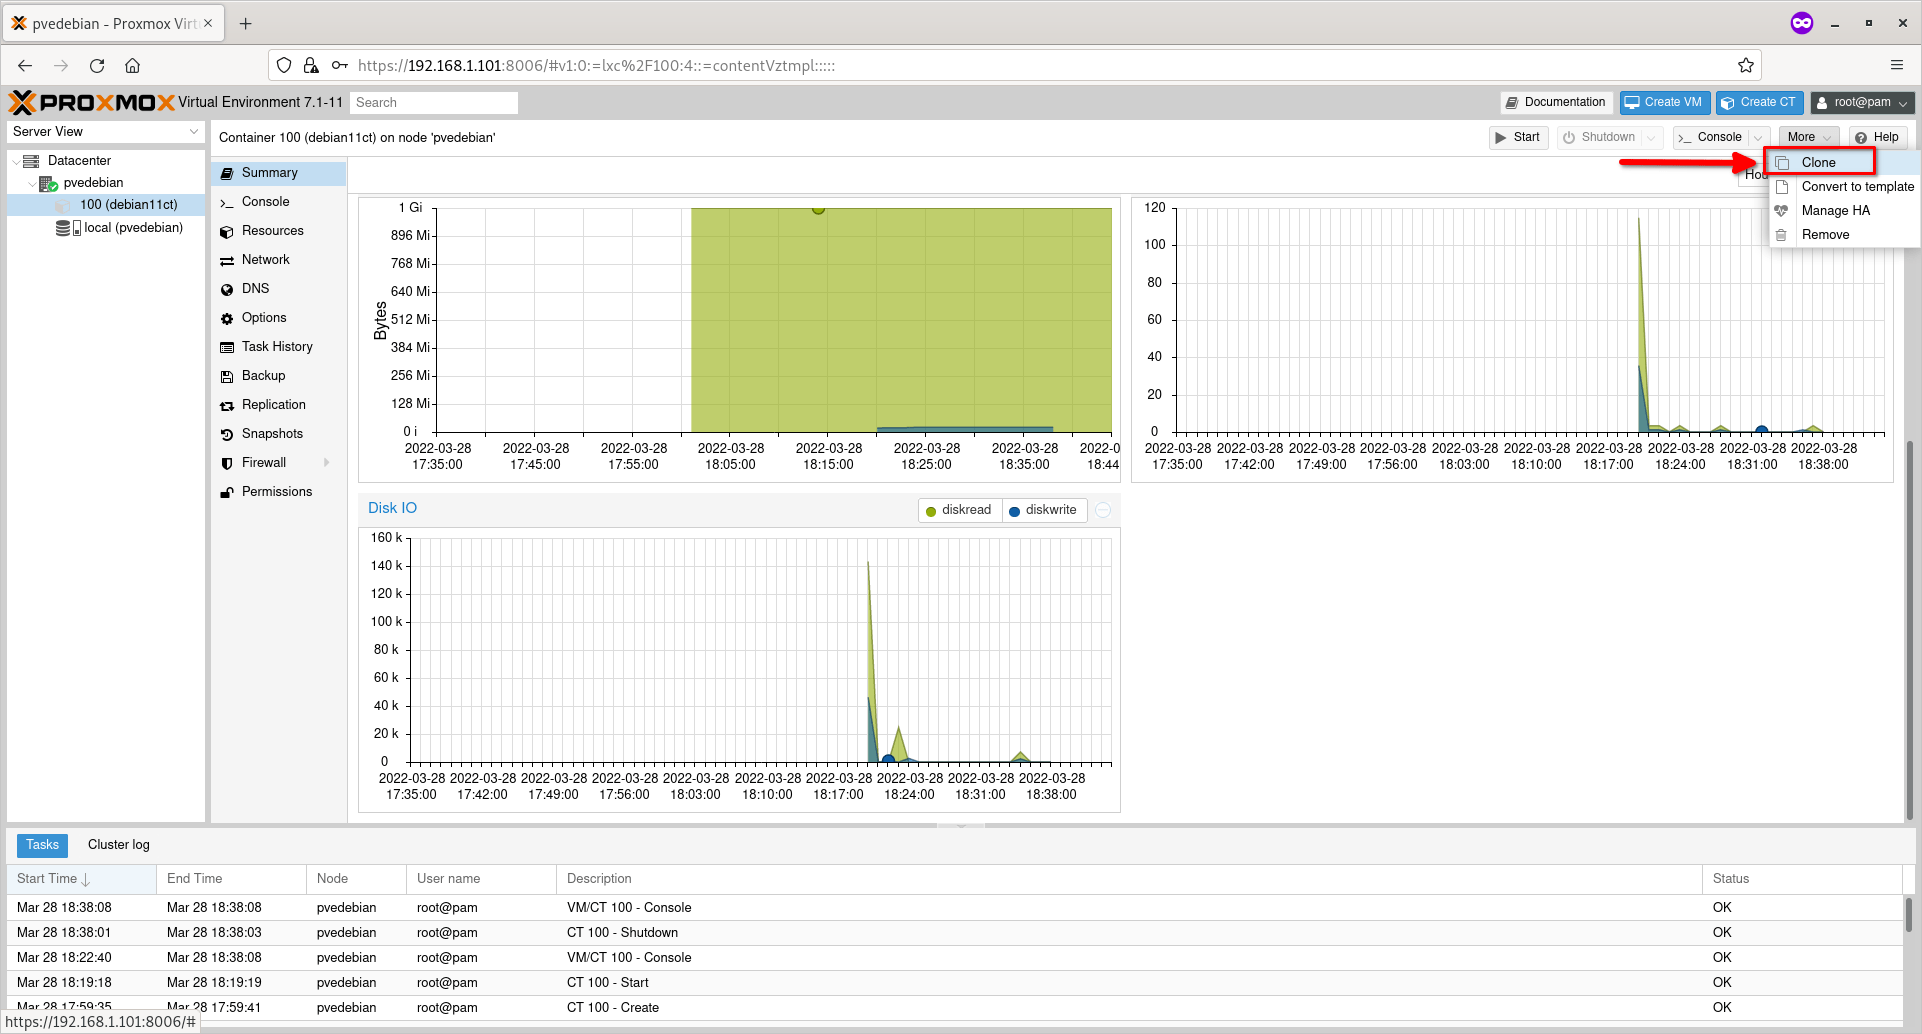
Shutdown the Container if it is running. Click on the ‘More’ drop-down action button on the top and then choose ‘Clone’ option to clone the Container.
 Clone Container
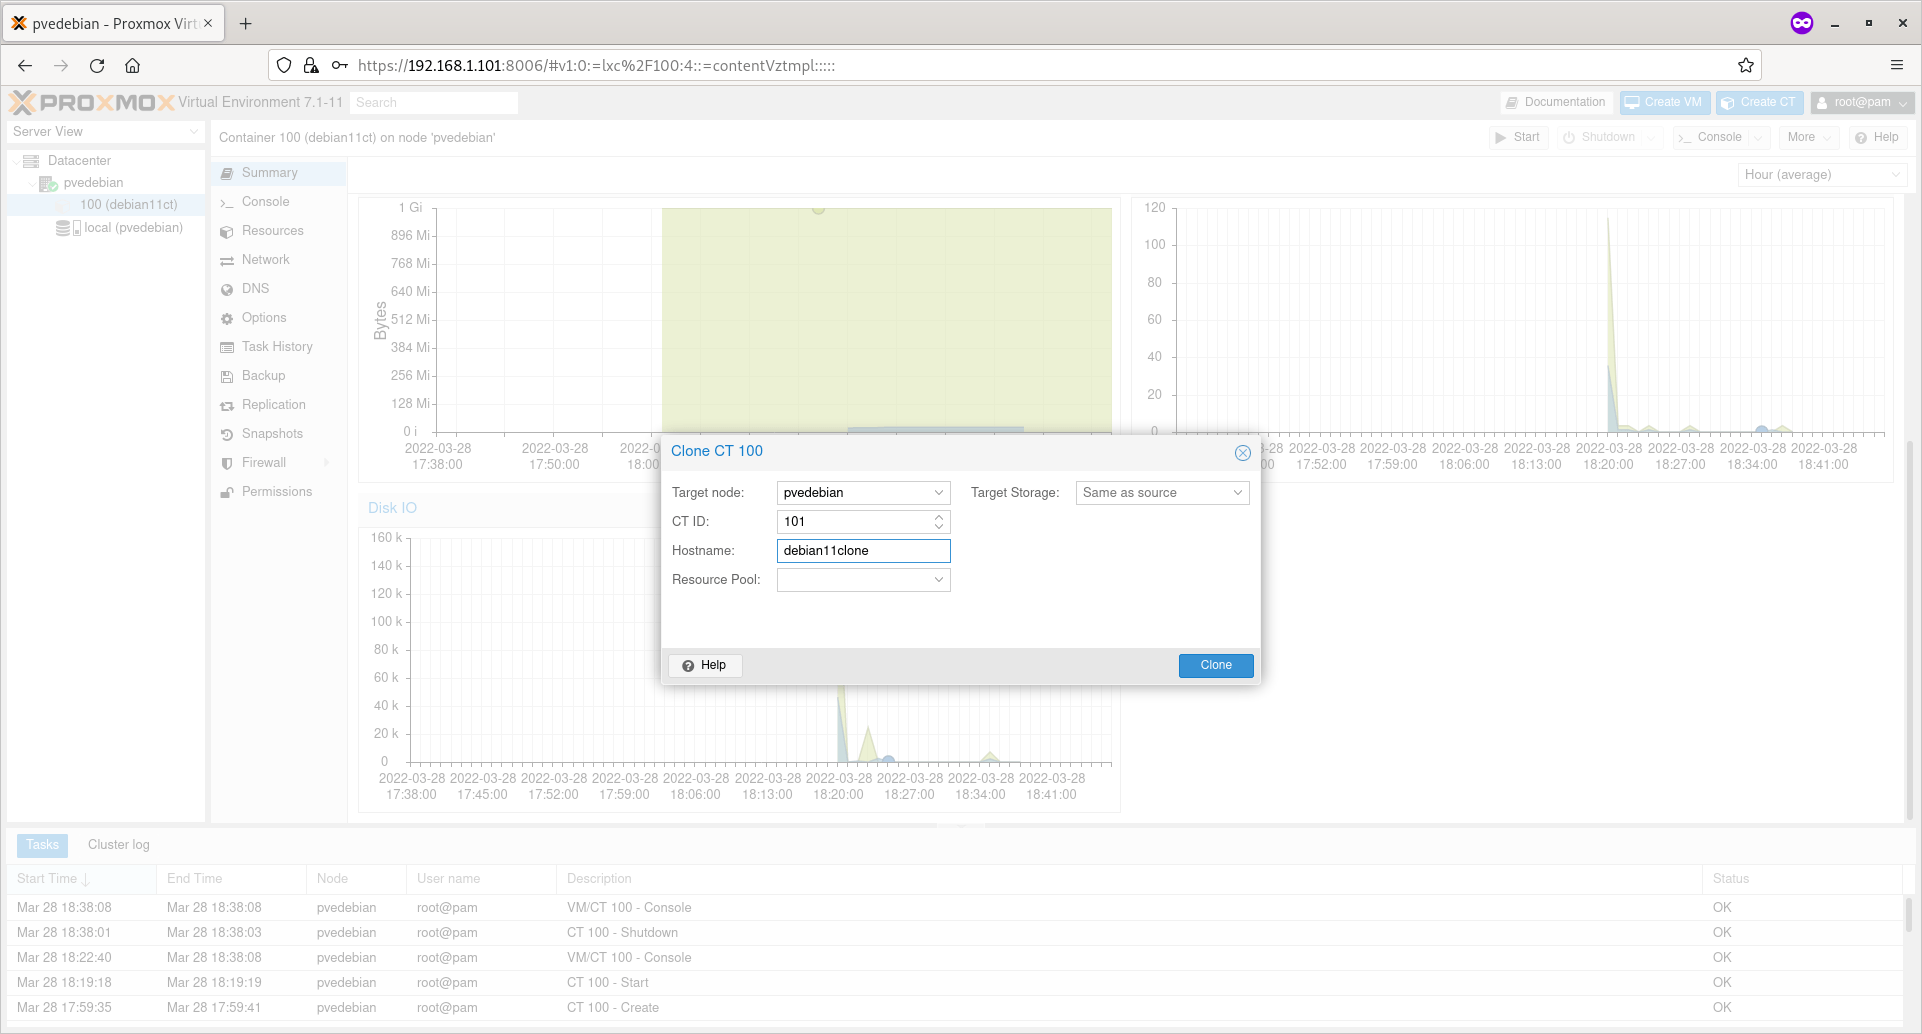
Enter the name to the clone, choose the target storage location. Leave as is if you want to save it in the default location. Click Clone button to start cloning.
 Enter Cloned Container Details
Step 8 – Remove Containers
First, make sure the container is powered off. Click on the ‘More’ drop-down button and choose ‘Remove’ option to delete the Container.
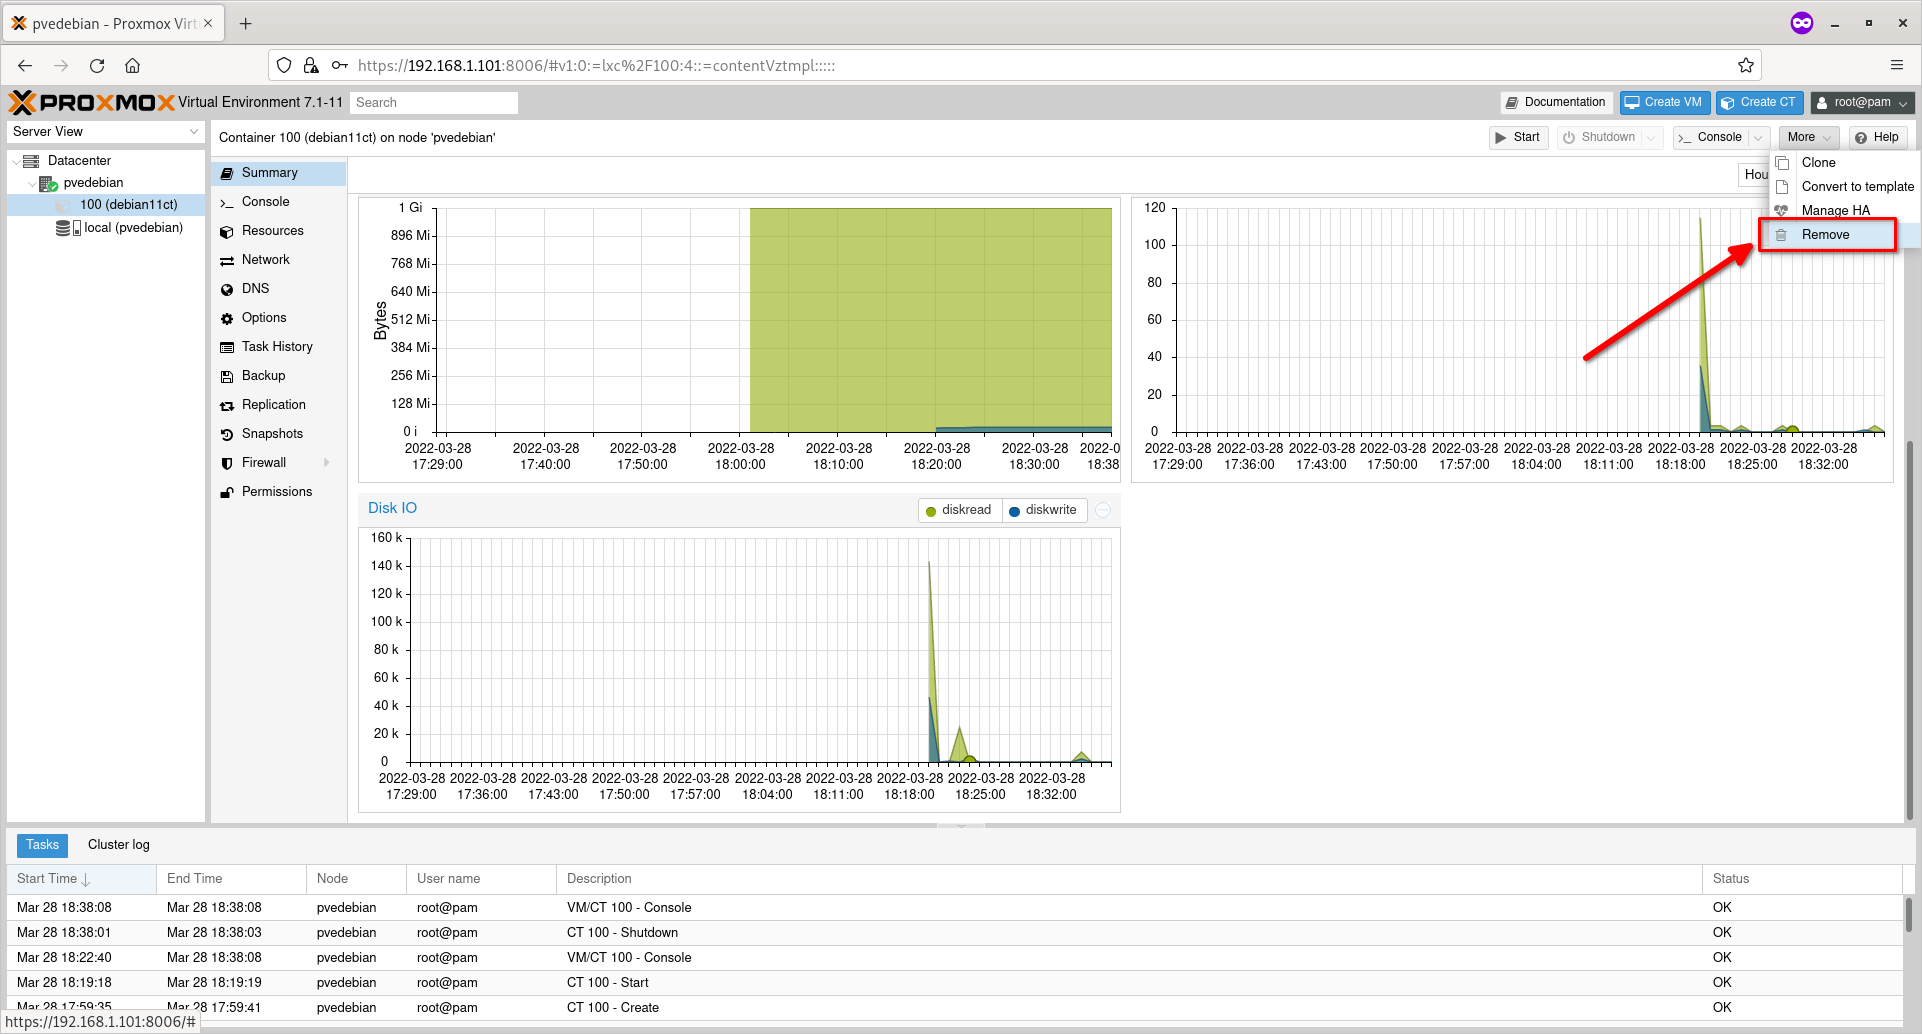 Remove Container
Conclusion
In this comprehensive guide, we have discussed how to create Proxmox containers from Proxmox Web user interface. We also looked at how to do basic container management actions such as starting, stopping, deleting and cloning Containers.